阅读视图

Zine Bakery: research roadmap

Some future work I’m planning for my Zine Bakery project researching, collecting, and amplifying zines at the intersections of tech, social justice, and culture.

Critical collecting

  • Ethical practices charter: how do I collect and research?
    • Finish drafting my post on ethics-related choices in my project, such as
      • not re-hosting zines without creator informed, explicit consent, so that catalogue users use zine creator’s versions and see their website; and
      • taking extra care around whether zines created for classes gave consent outside of any implicit pressures related to grades or the teacher serving as a future job reference
    • Read the Zine Librarians Code of Ethics in full, and modify my charter wit citations to their excellent project.
  • Collecting rationale: why do I collect, and what do I/don’t I collect?

  • ID areas I need to collect more actively, for Zine Bakery @ Scholars’ Lab goals of a welcoming, diverse collection reflecting SLab’s values and our audience

  • Contact zine creators: I already don’t display, link, etc. zines creators don’t positively indicate they want people to. But I could also contact creators to see if they want something added/edited in the catalogue, or if their preferences on replication have changed since they published the zine; and just to let them know about the project as an example of something citing their work.

  • Accessibility:
    • Improve zine cover image alt text, so rather than title and creators, it also includes a description of important visual aspects of the cover such as color, typography, illustration, general effect. Retry Google Vision AI, write manually, or look at existing efforts to markup (e.g. comics TEI) and/or extrapolate image descriptions.
    • Look into screen-reading experience of catalogue. Can I make a version (even if it requires scheduled manual exports that I can format and display on my website) that is more browsable?
    • Run website checks for visual, navigational, etc. accessibility

Data, website, coding

  • Better reader view:
    • Create a more catalogue-page-like interface for items
    • Make them directly linkable so when I post or tweet about a zine, I can link people directly to its metadata page
  • Self-hosted data and interface: explore getting off AirTable, or keeping it as a backend and doing regular exports to reader and personal collecting interfaces I host myself, using data formats + Jekyll

  • Make metadata more wieldly for my editing:
    • I wish there were a way to collapse or style multiple fields/columns into sections/sets.
    • I might be able to hackily do this (all-caps for umbrella field for a section? emojis?); or
    • Using an extension allowing styling view (unsure if these are friendly for bulk-editing);
    • the self-hosted options mentioned above might let me better handle this (use or make my own, better viewing interface)
  • Crosswalk my metadata to xZINECOREx metadata?: so is interoperable with the Zine Union Catalogue and other metadata schema users

  • File renaming:
    • I started with a filename scheme using the first two words of a zine title, followed by a hyphen, then the first creator’s name (and “EtAl” if other creators exist)
      • I quickly switched to full titles, as this lets me convert them into alt text for my zine quilt
      • I need to go back and regularize this for PDFs, full-size cover images, and quilt-sized cover images.
  • Link cover images to zine metadata (or free e-reading link, if any?) from zine quilt vis

Metadata & cataloguing

  • Create personal blurbs for all zines that don’t have one written by me yet

  • Further research collected zines so I can fill in blank fields, such as publication date and location for all zines

Community

  • Explore setting up for better availability to the Zine Union Catalogue, if my project fits their goals

  • Further refine logo/graphics:
    • finish design work
    • create stickers to hand out, make myself some tshirts :D
  • Learn more about and/or get involved with some of the
    • cool zine librarian (Code of Ethics, ZLUC, visit zine library collections & archives) and
    • zine fest (e.g. Charlottesville Zine Fest, WTJU zine library) efforts

Research & publication

  • Publication:
  • More visualization or analysis of metadata fields, e.g.
    • timeline of publication
    • heatmap of publication locations
    • comparison of fonts or serif vs. sans serif fonts in zines
  • Digital zine quilt: play with look of the zine quilt further:
    • Add way to filter/sort covers?
    • Add CSS to make it look more quilt-like, e.g. color stiching between covers?

Making

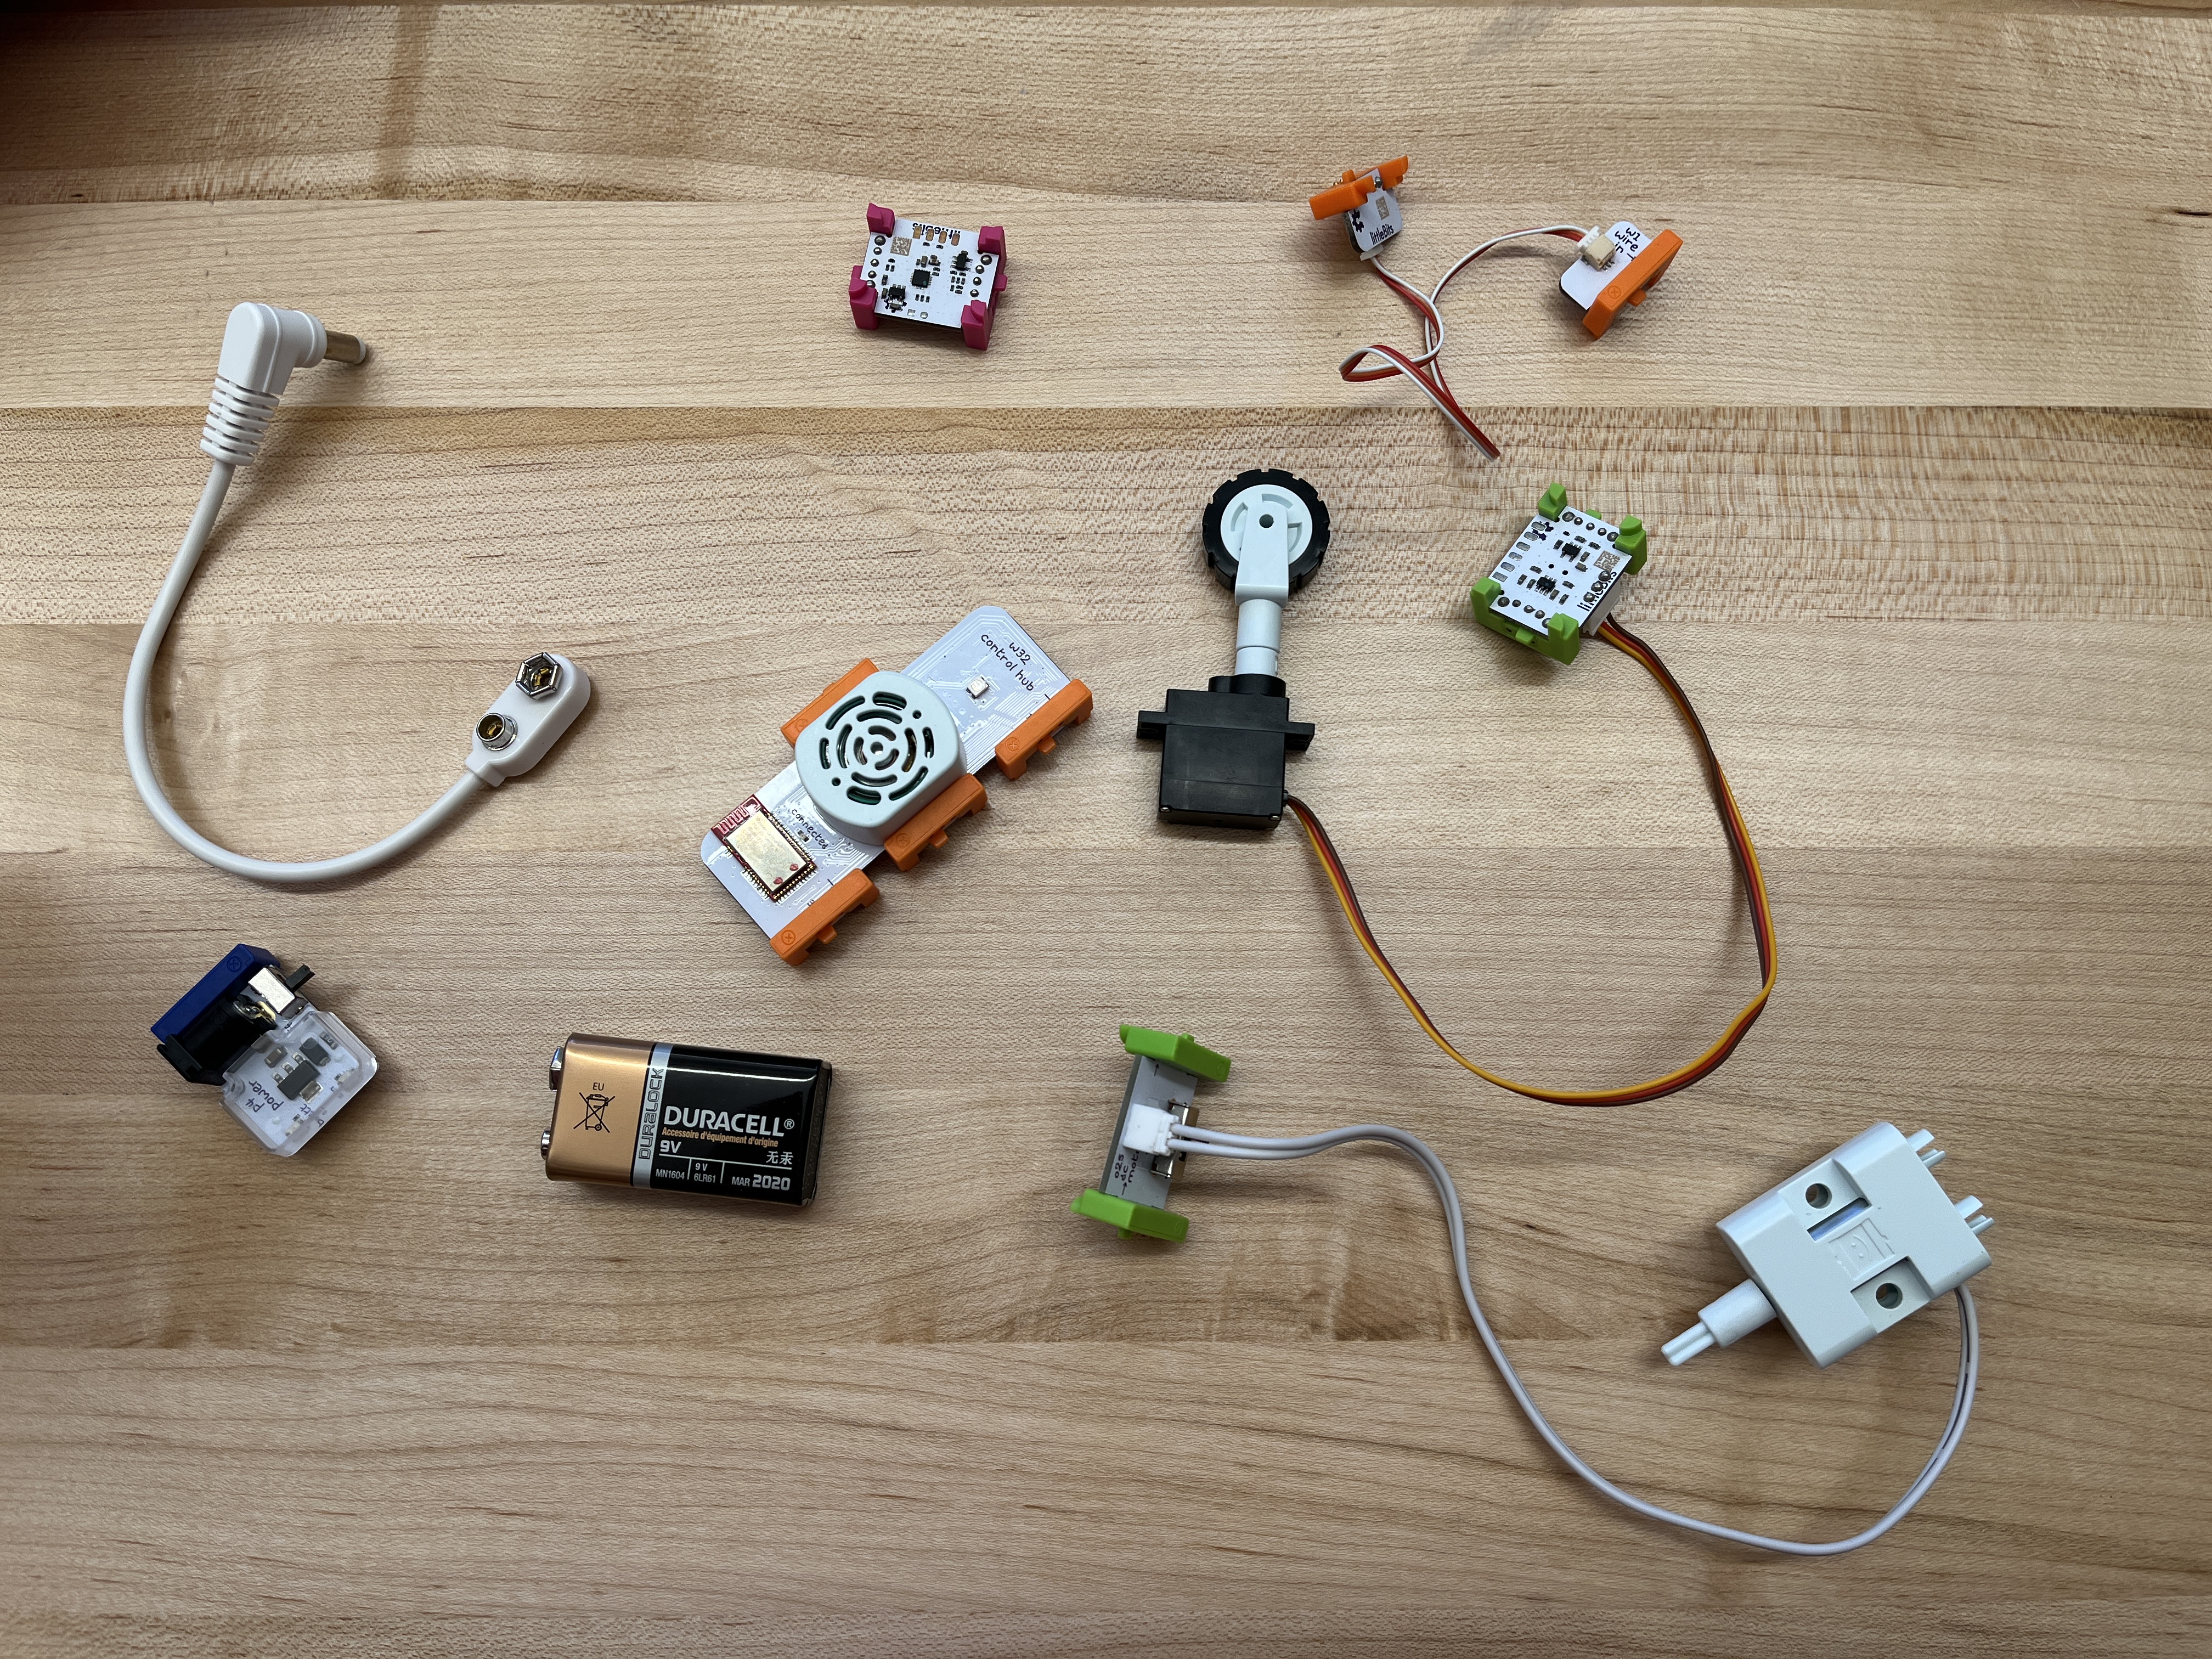
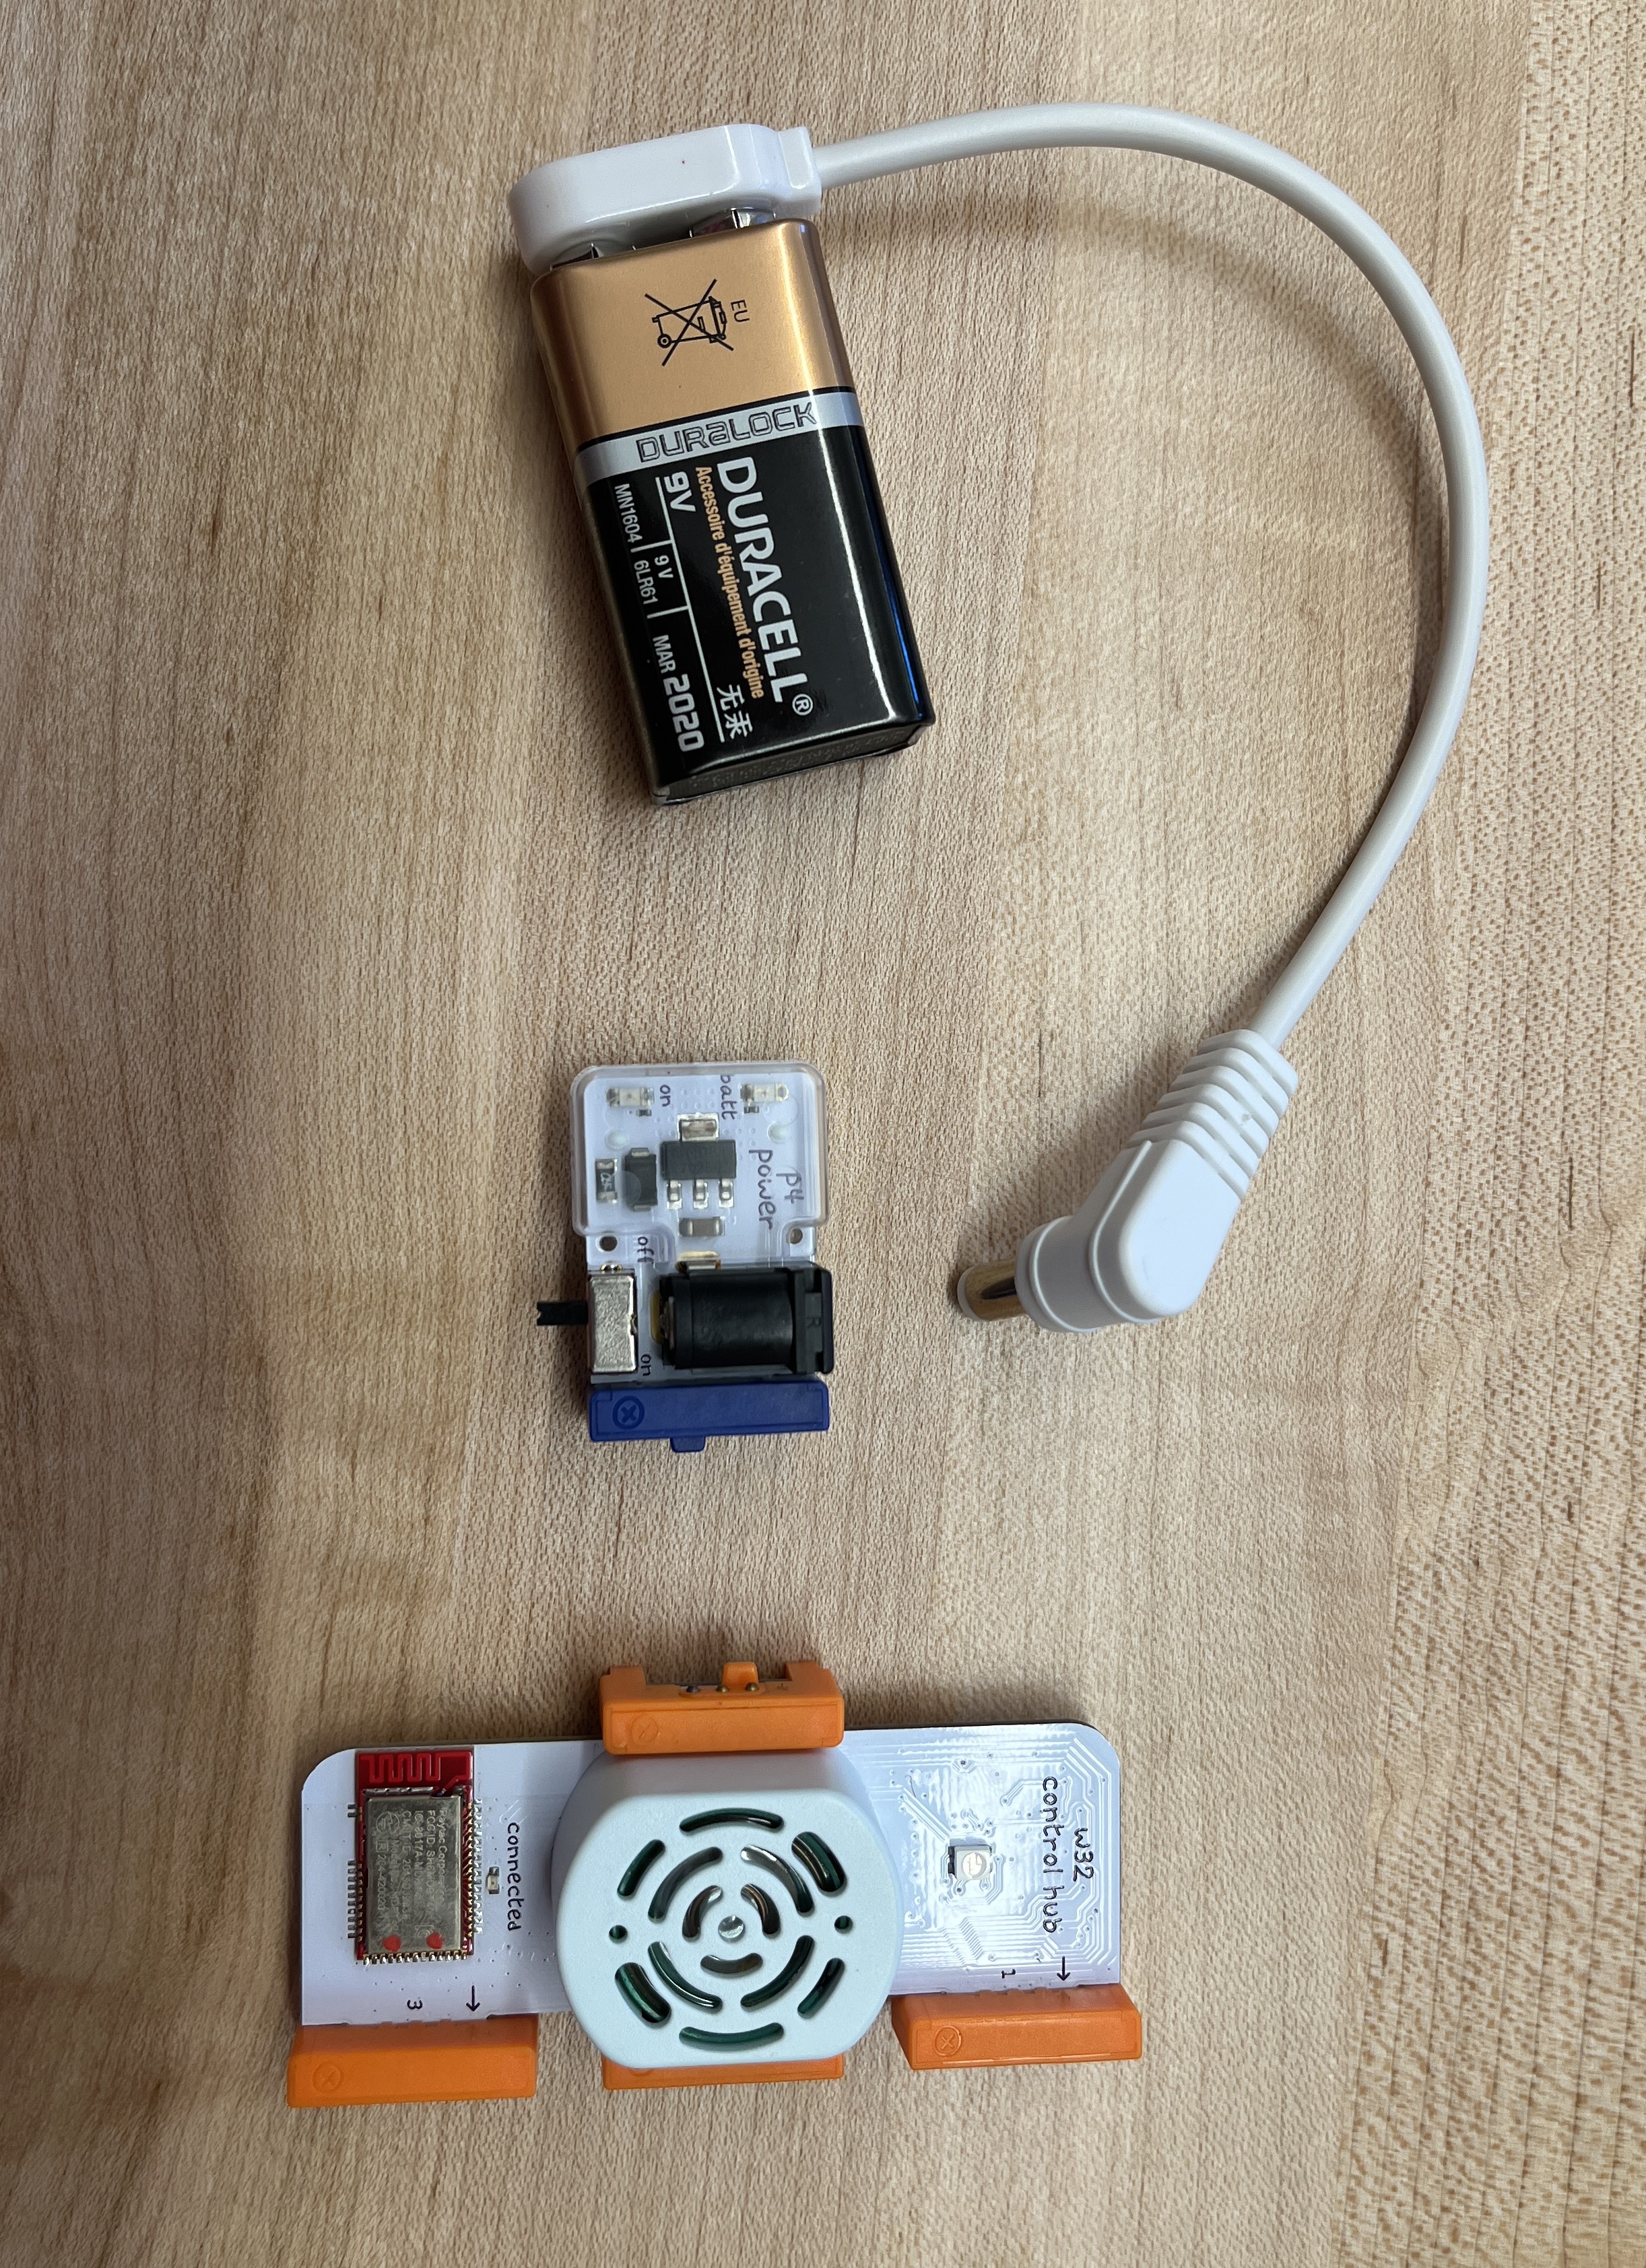
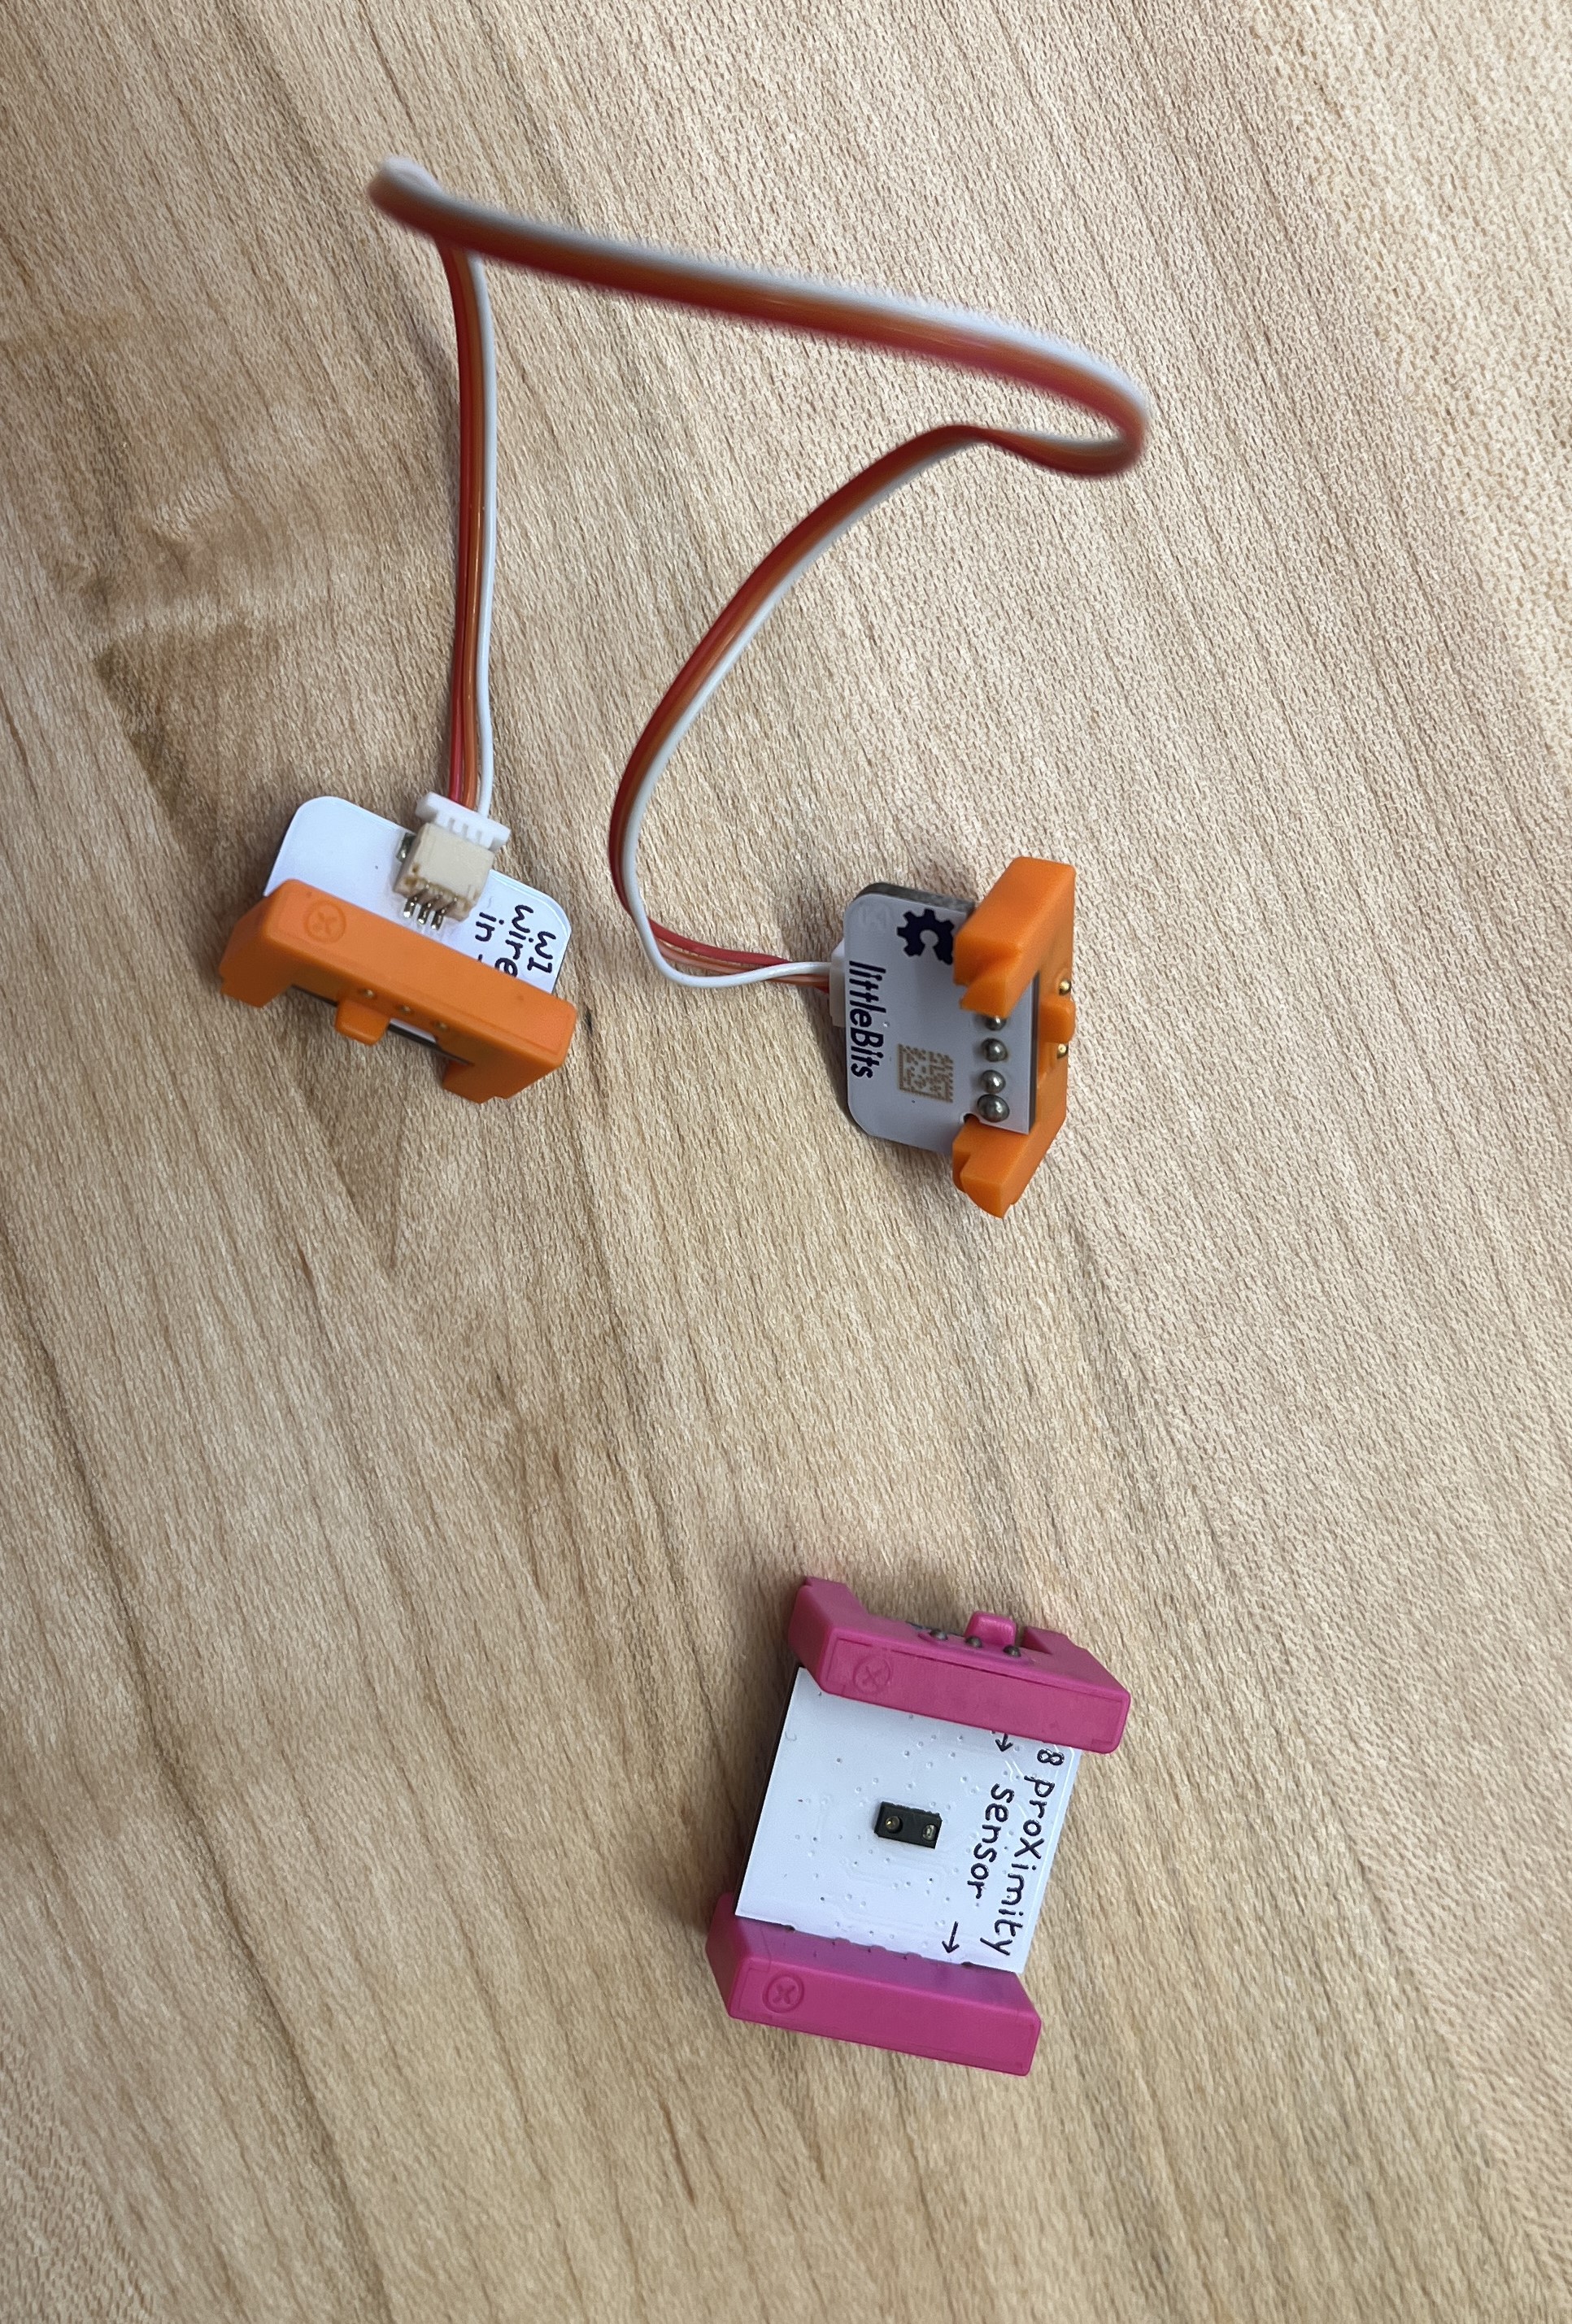
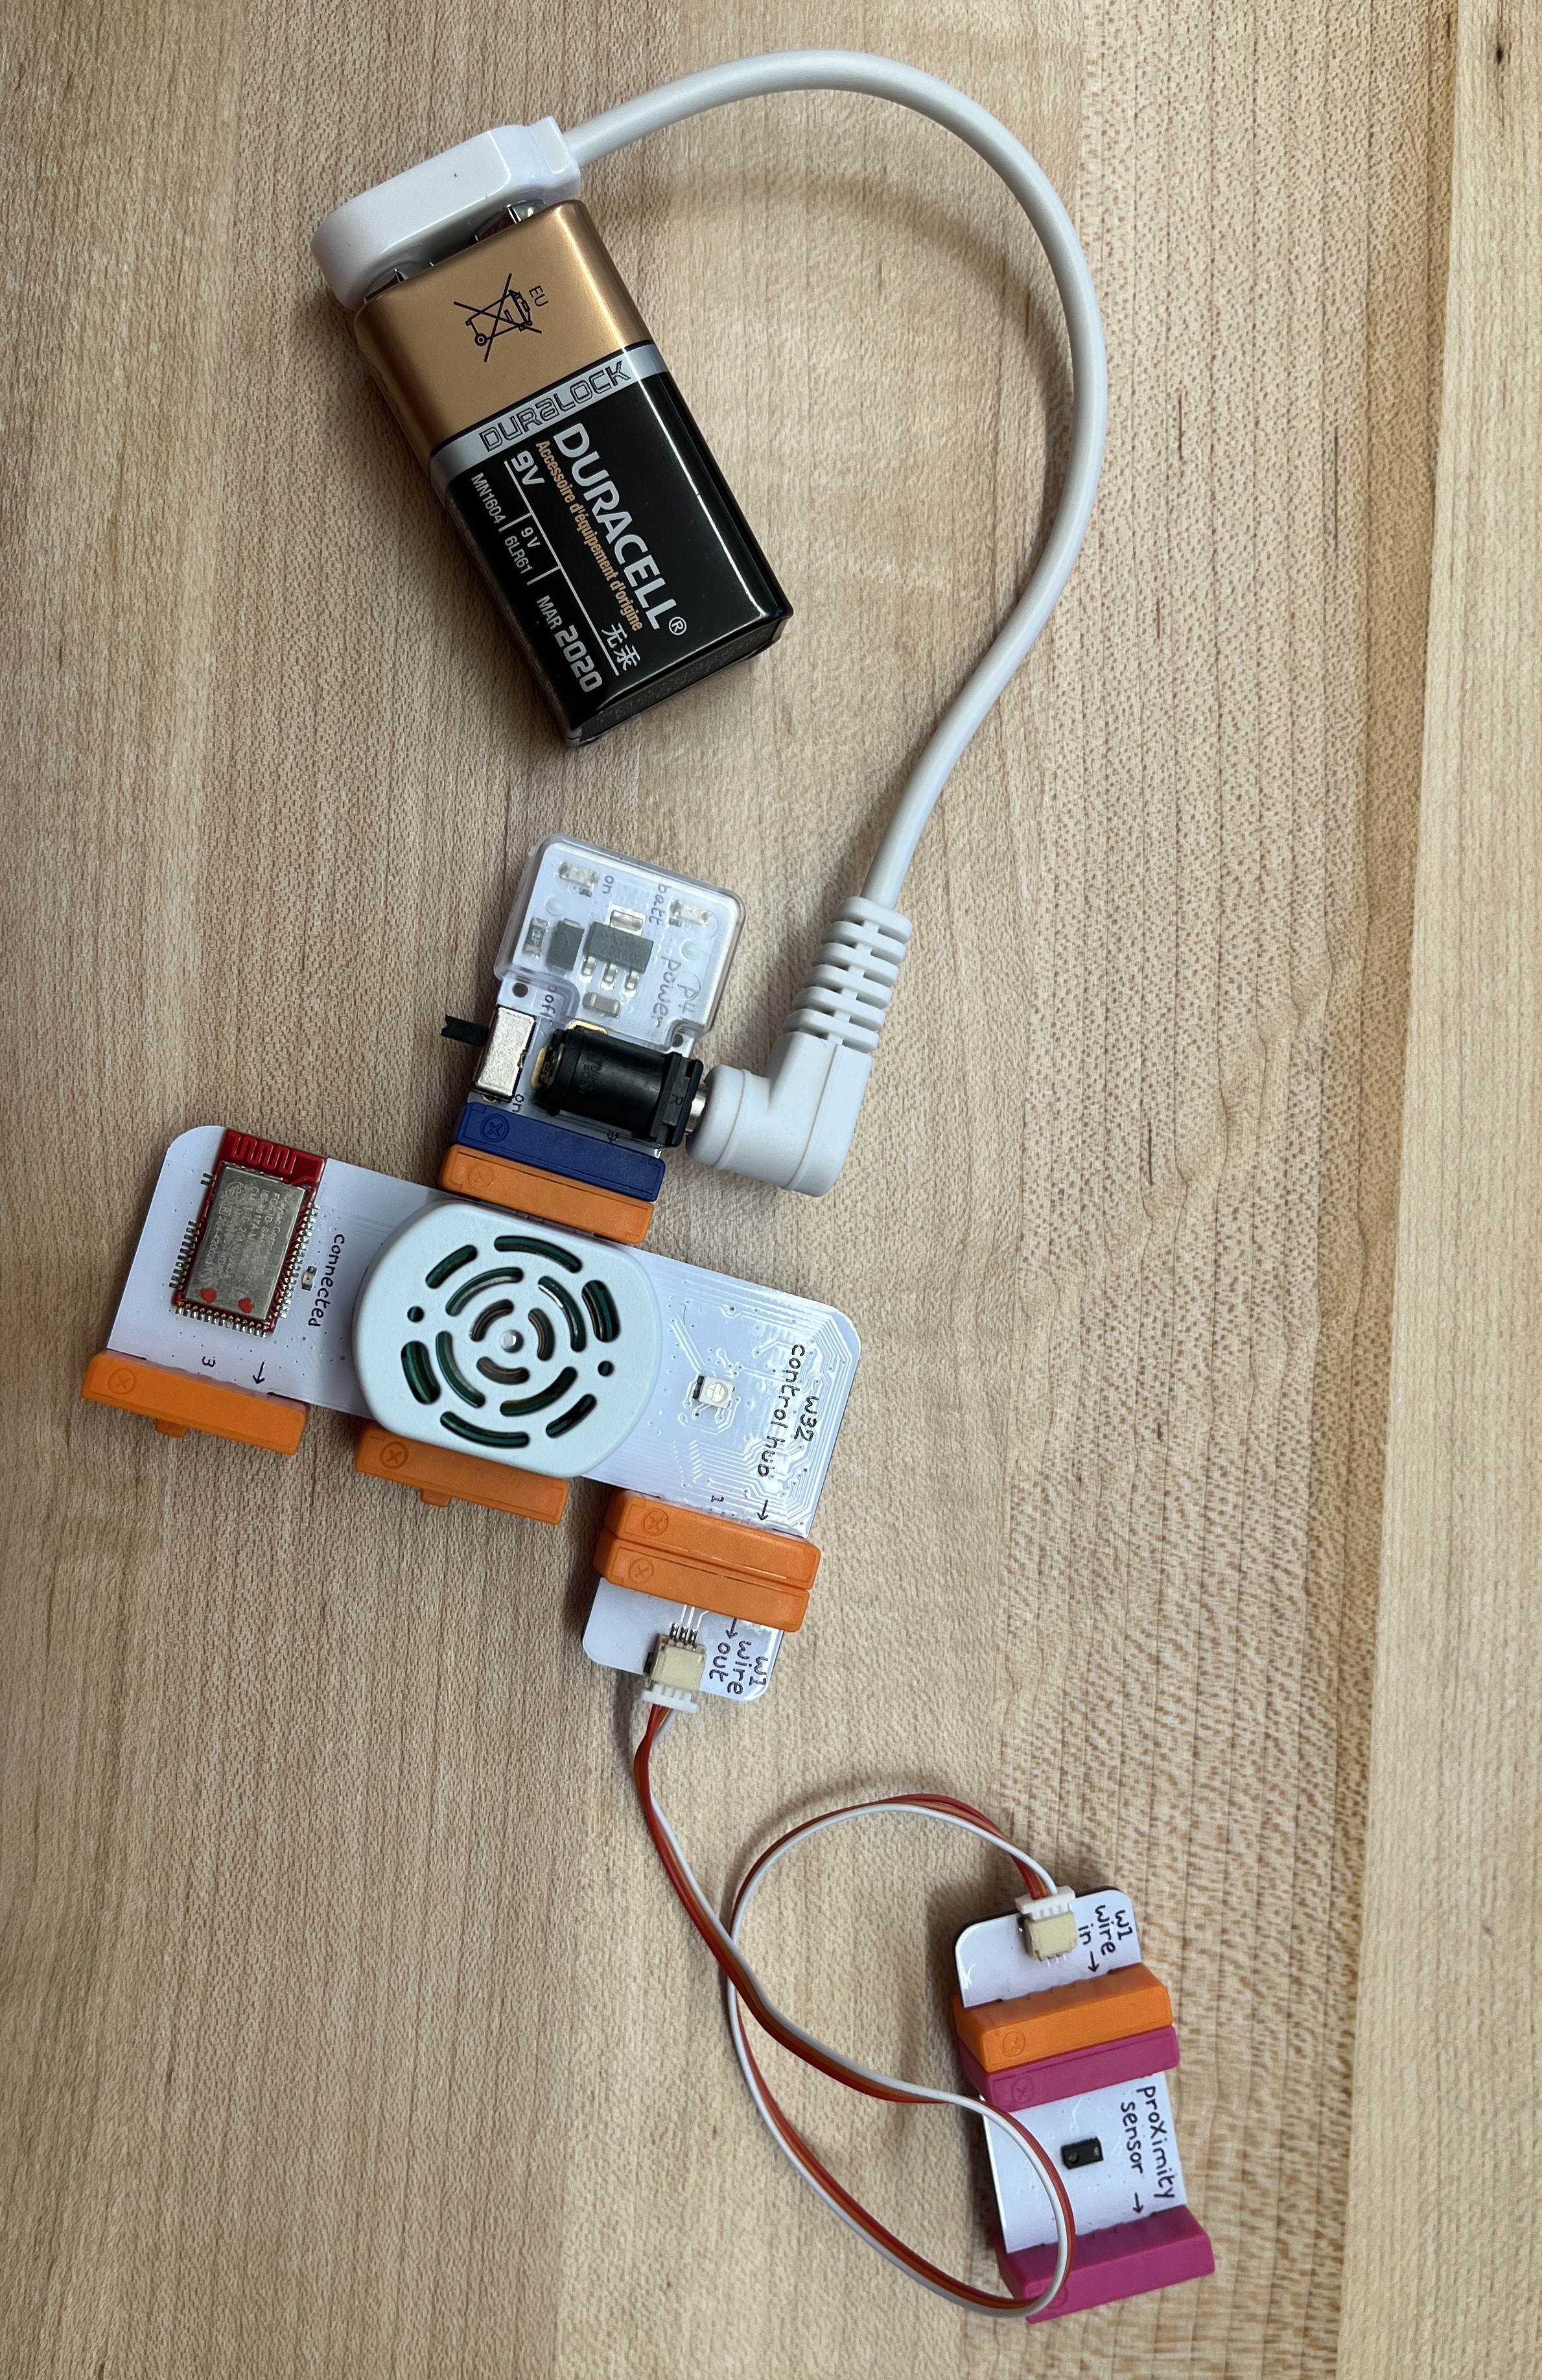
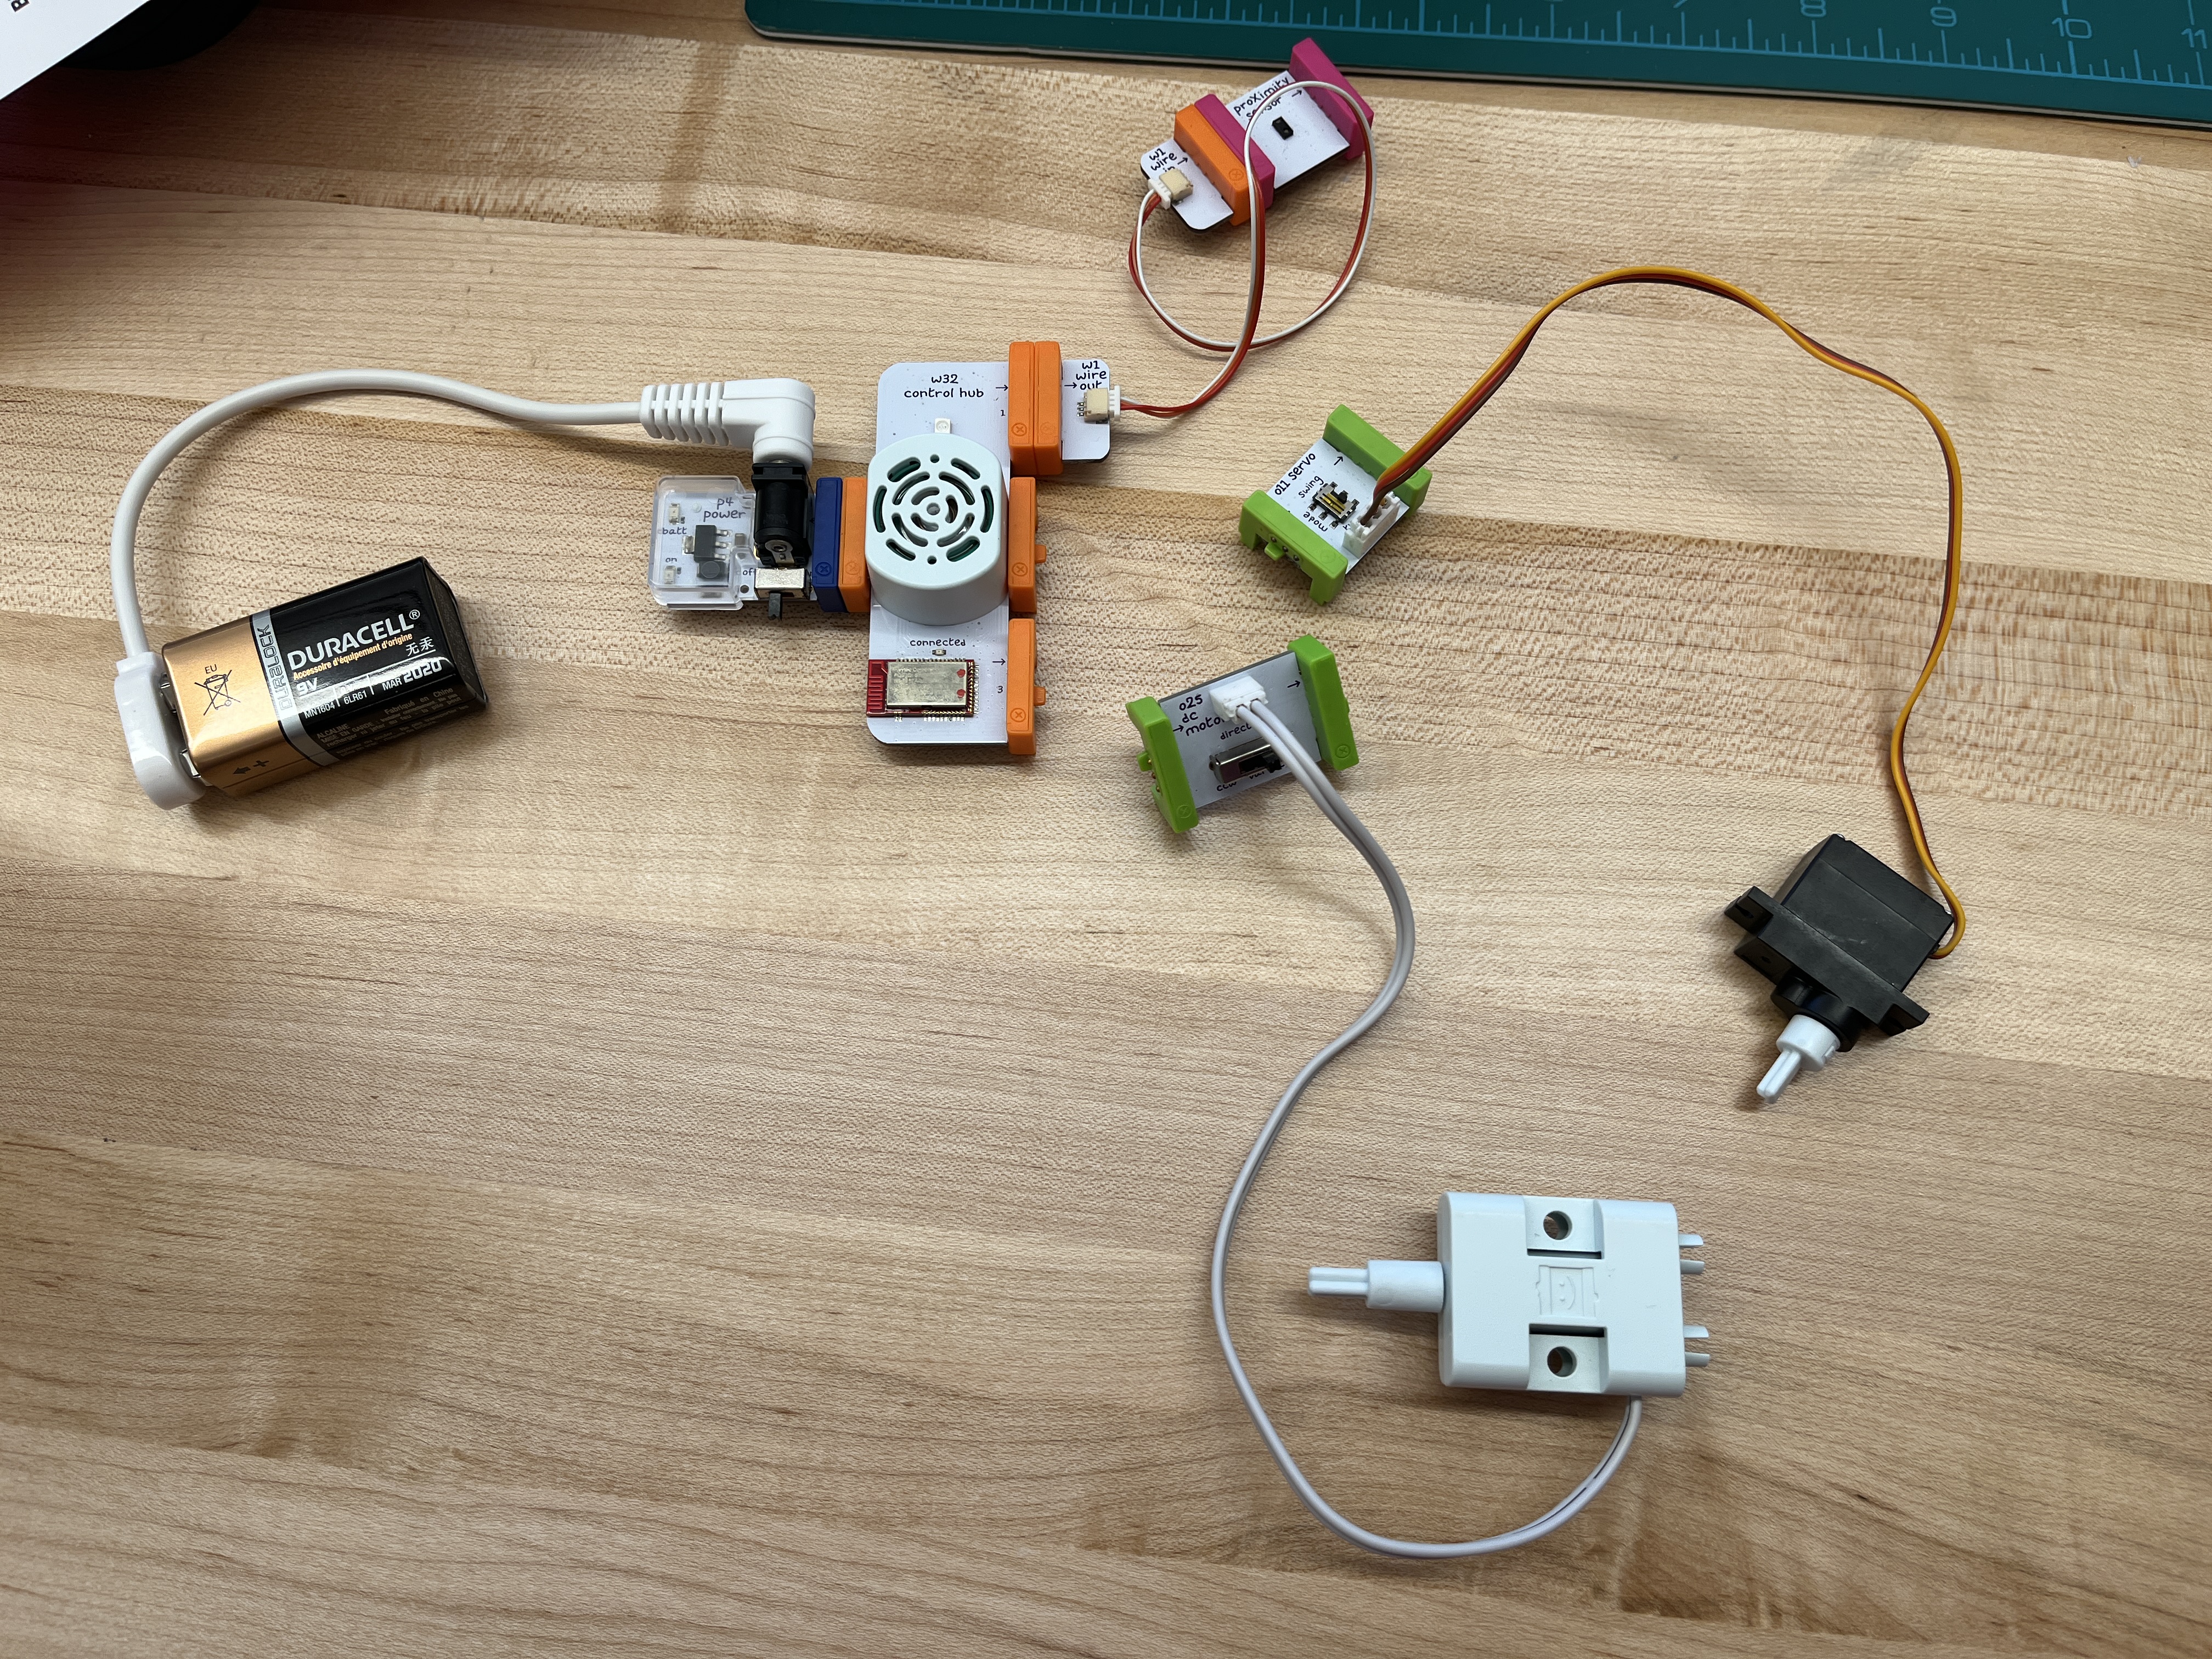
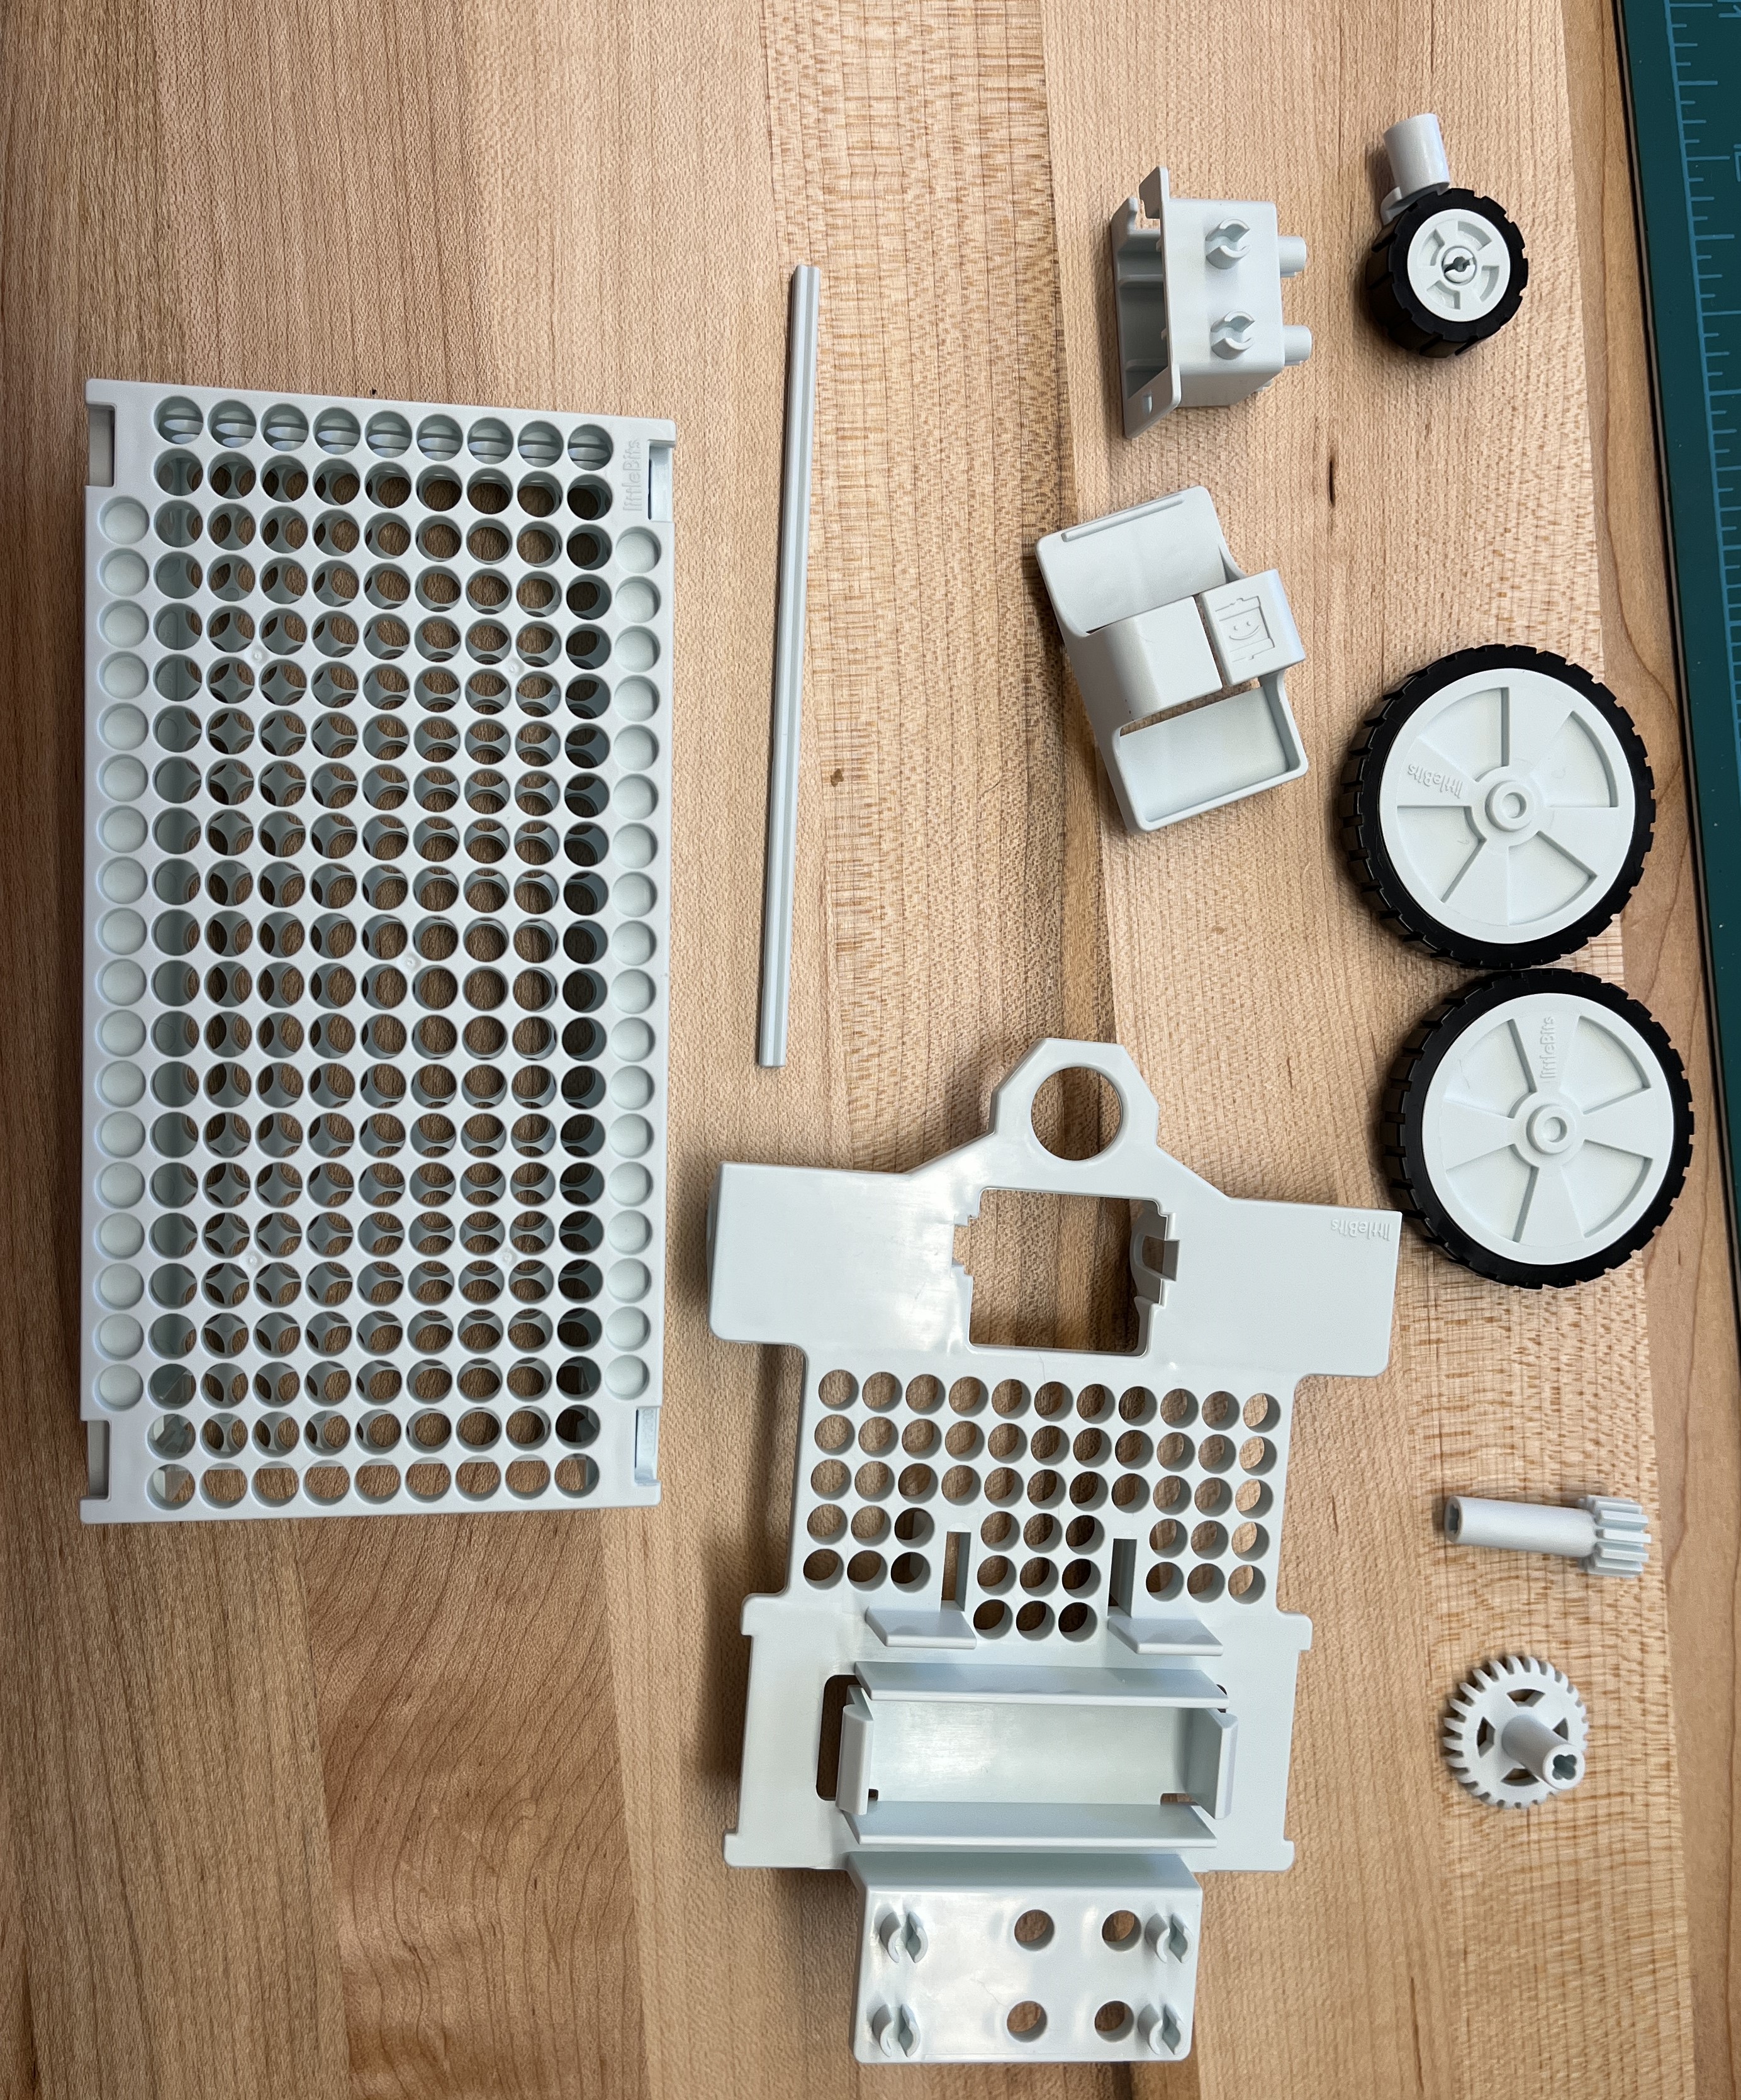
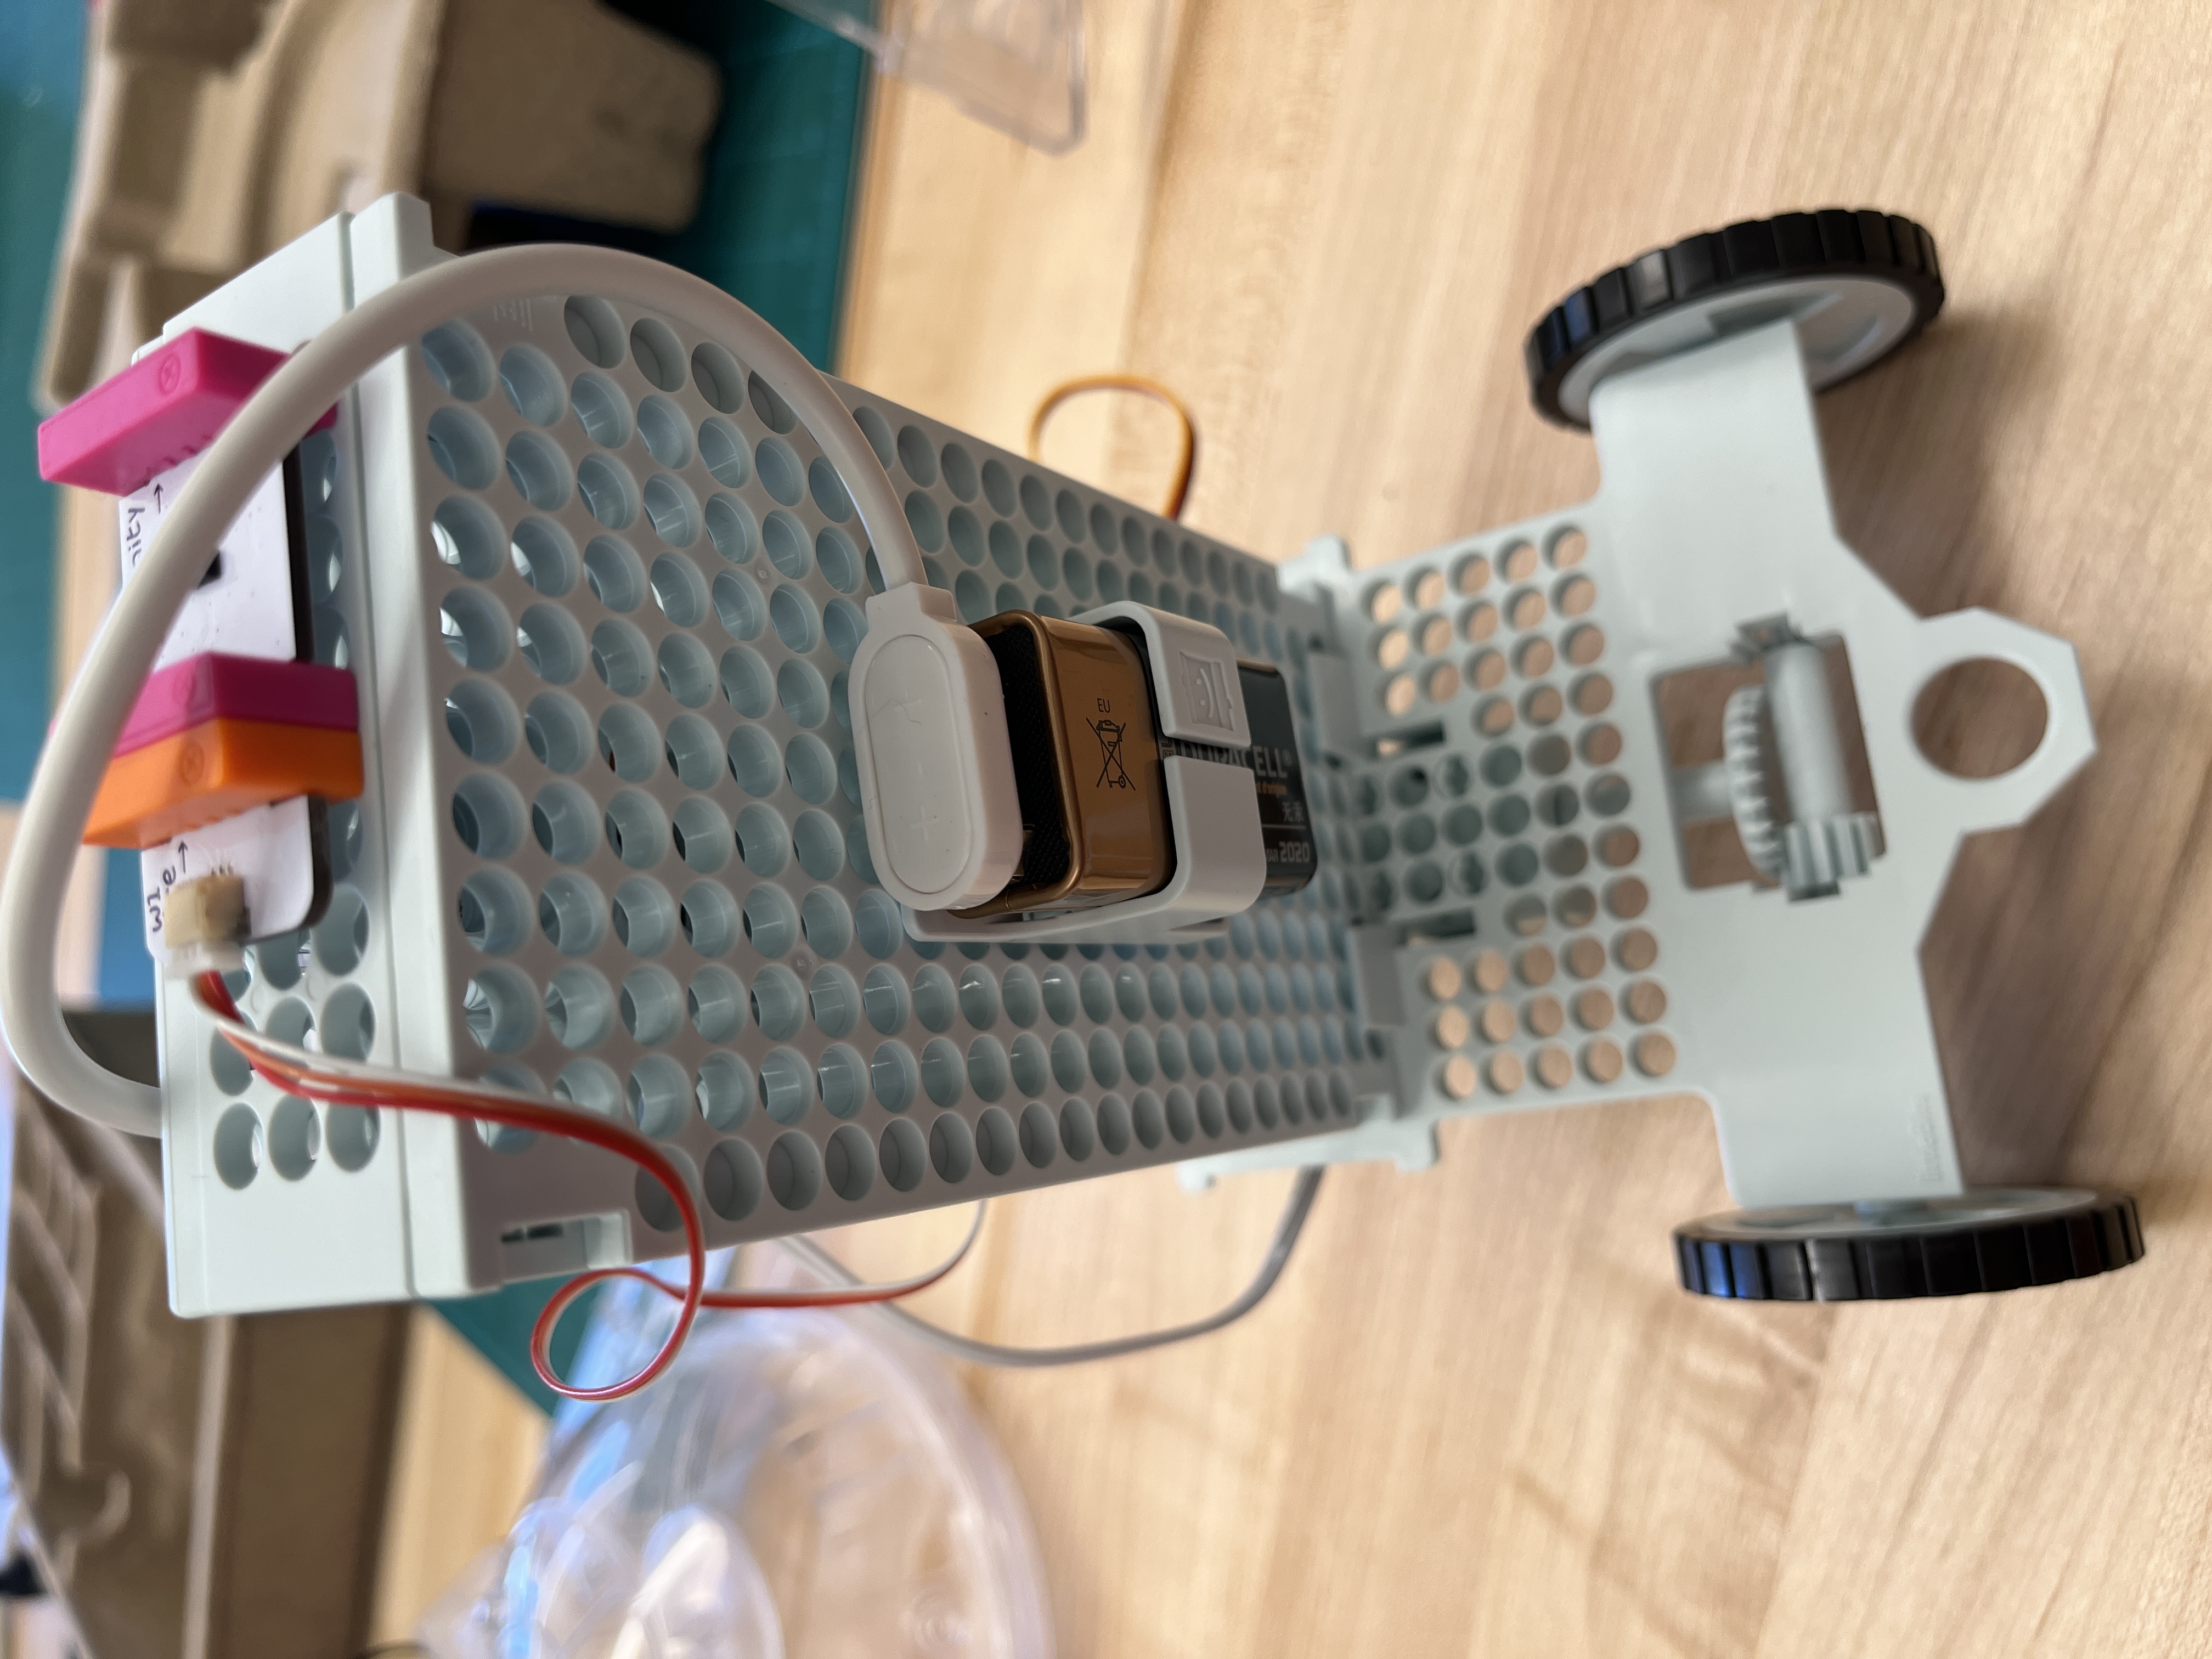
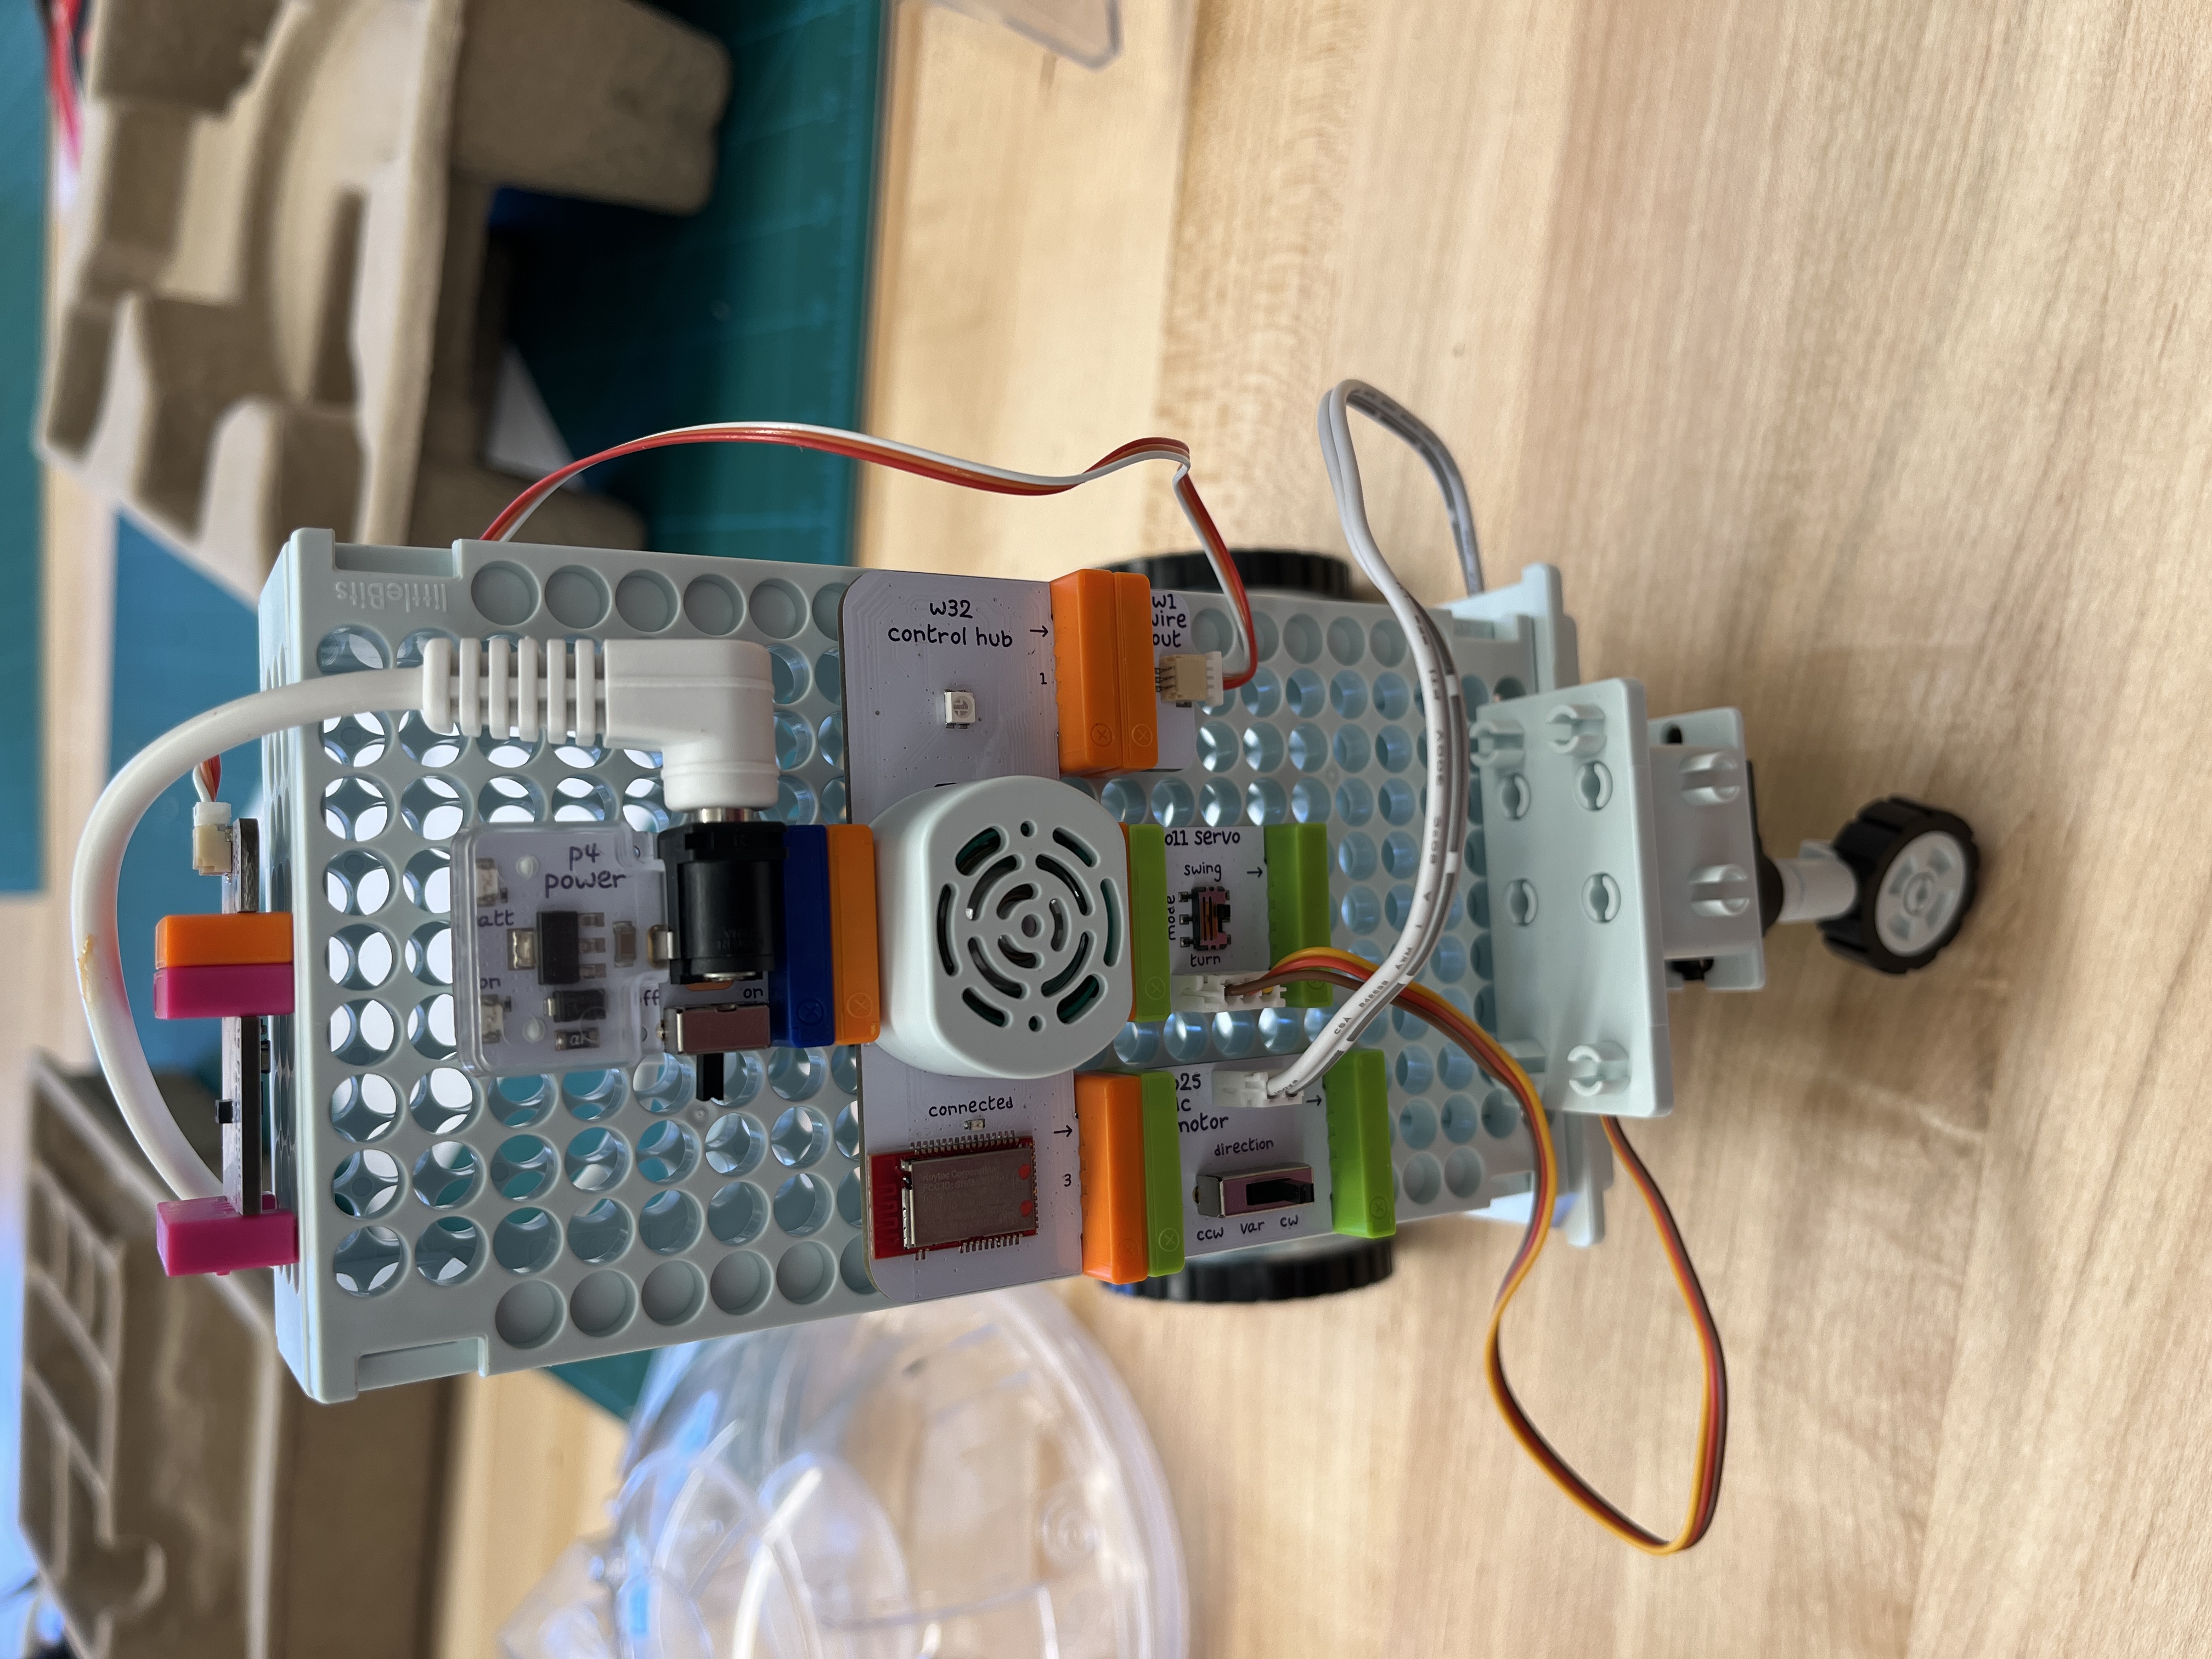
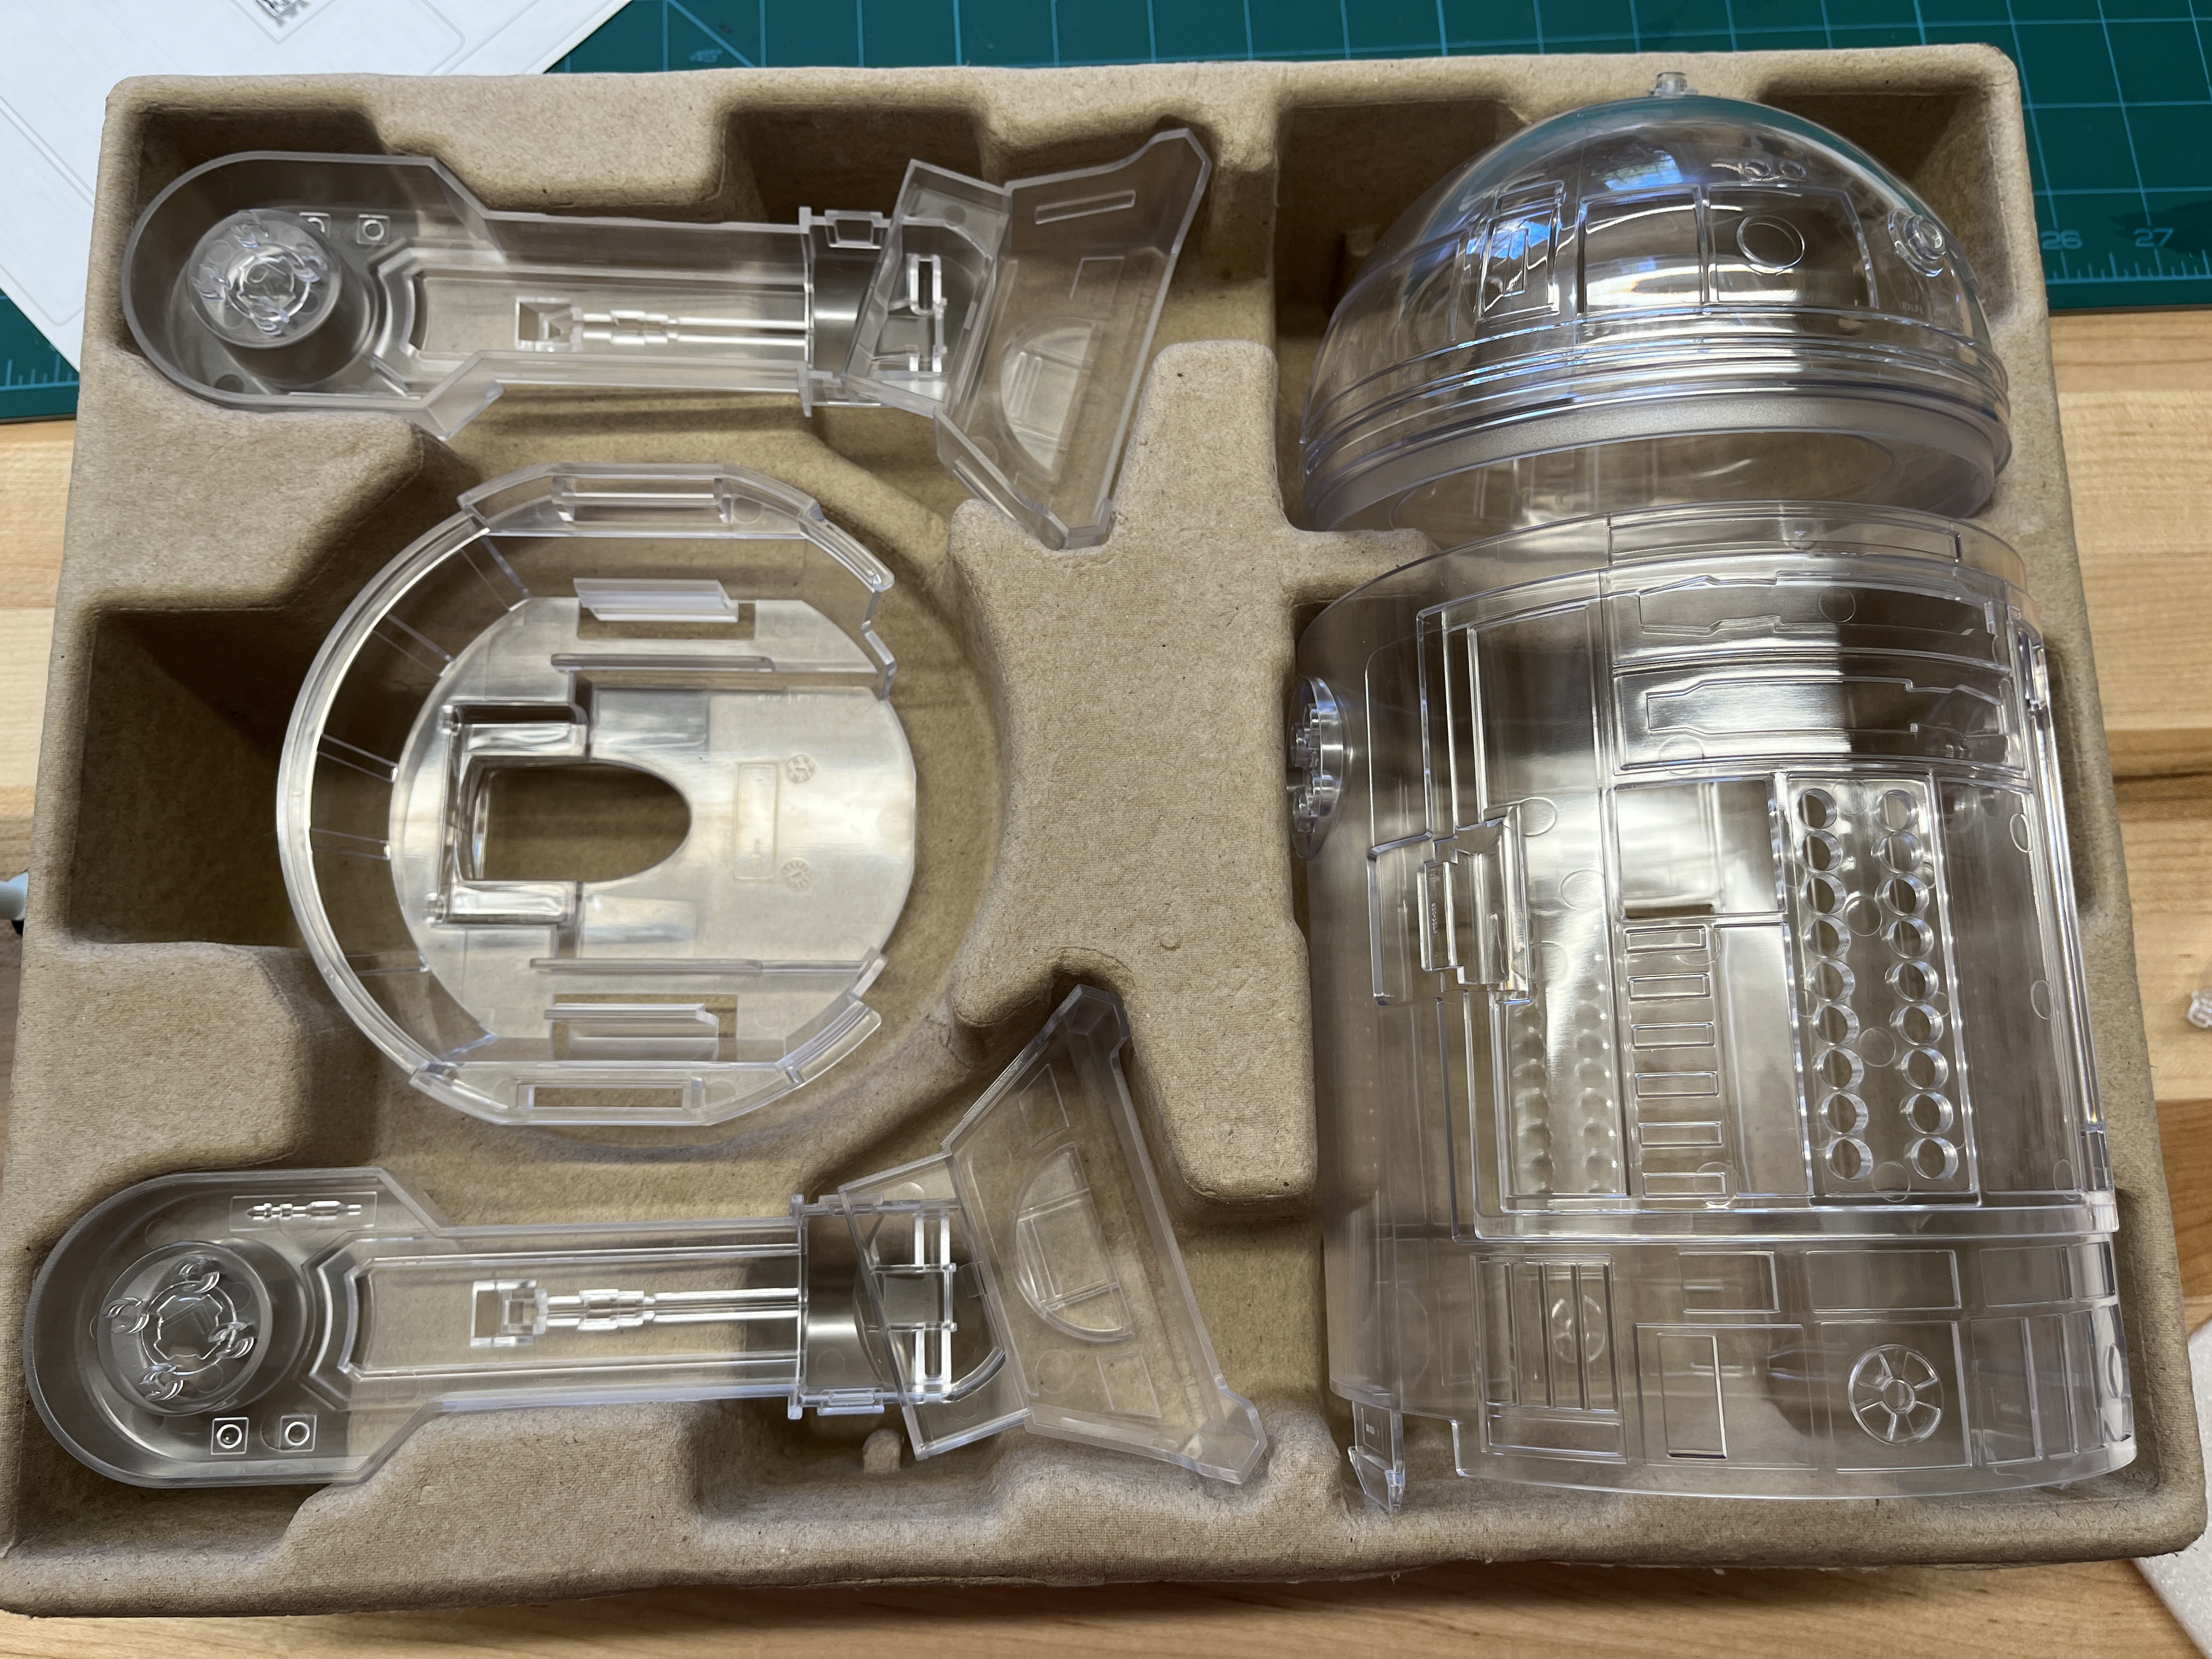
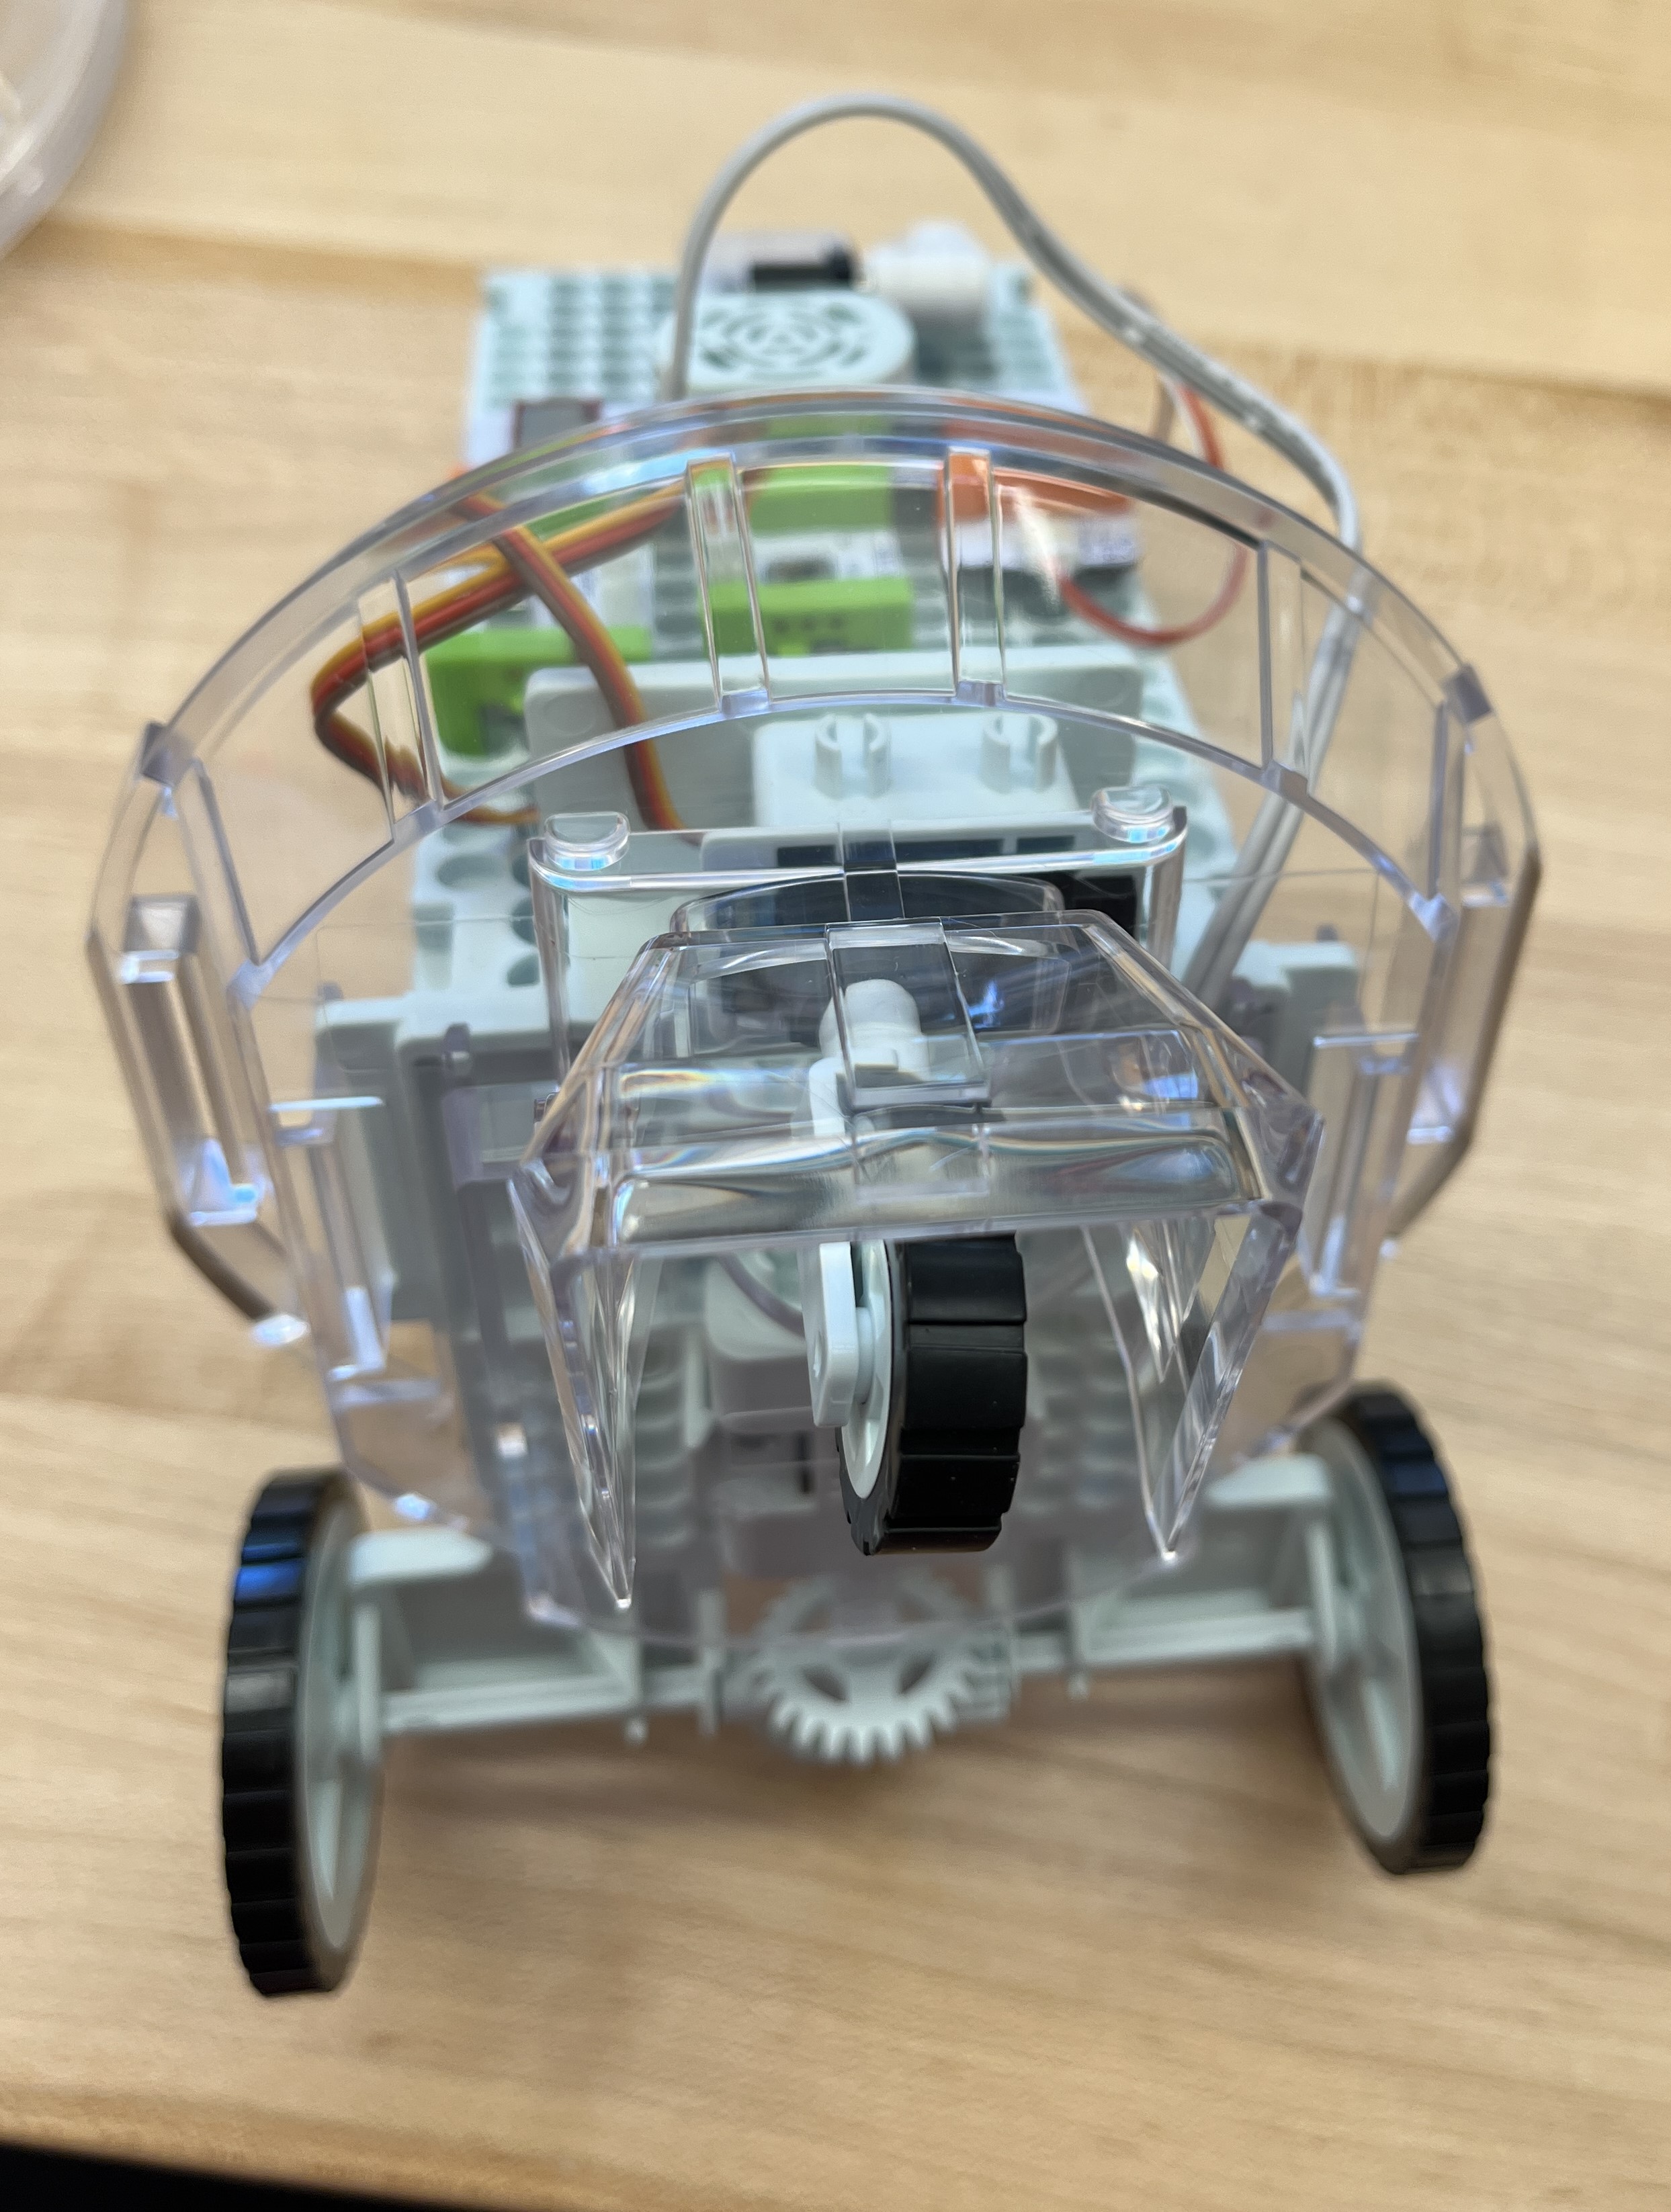
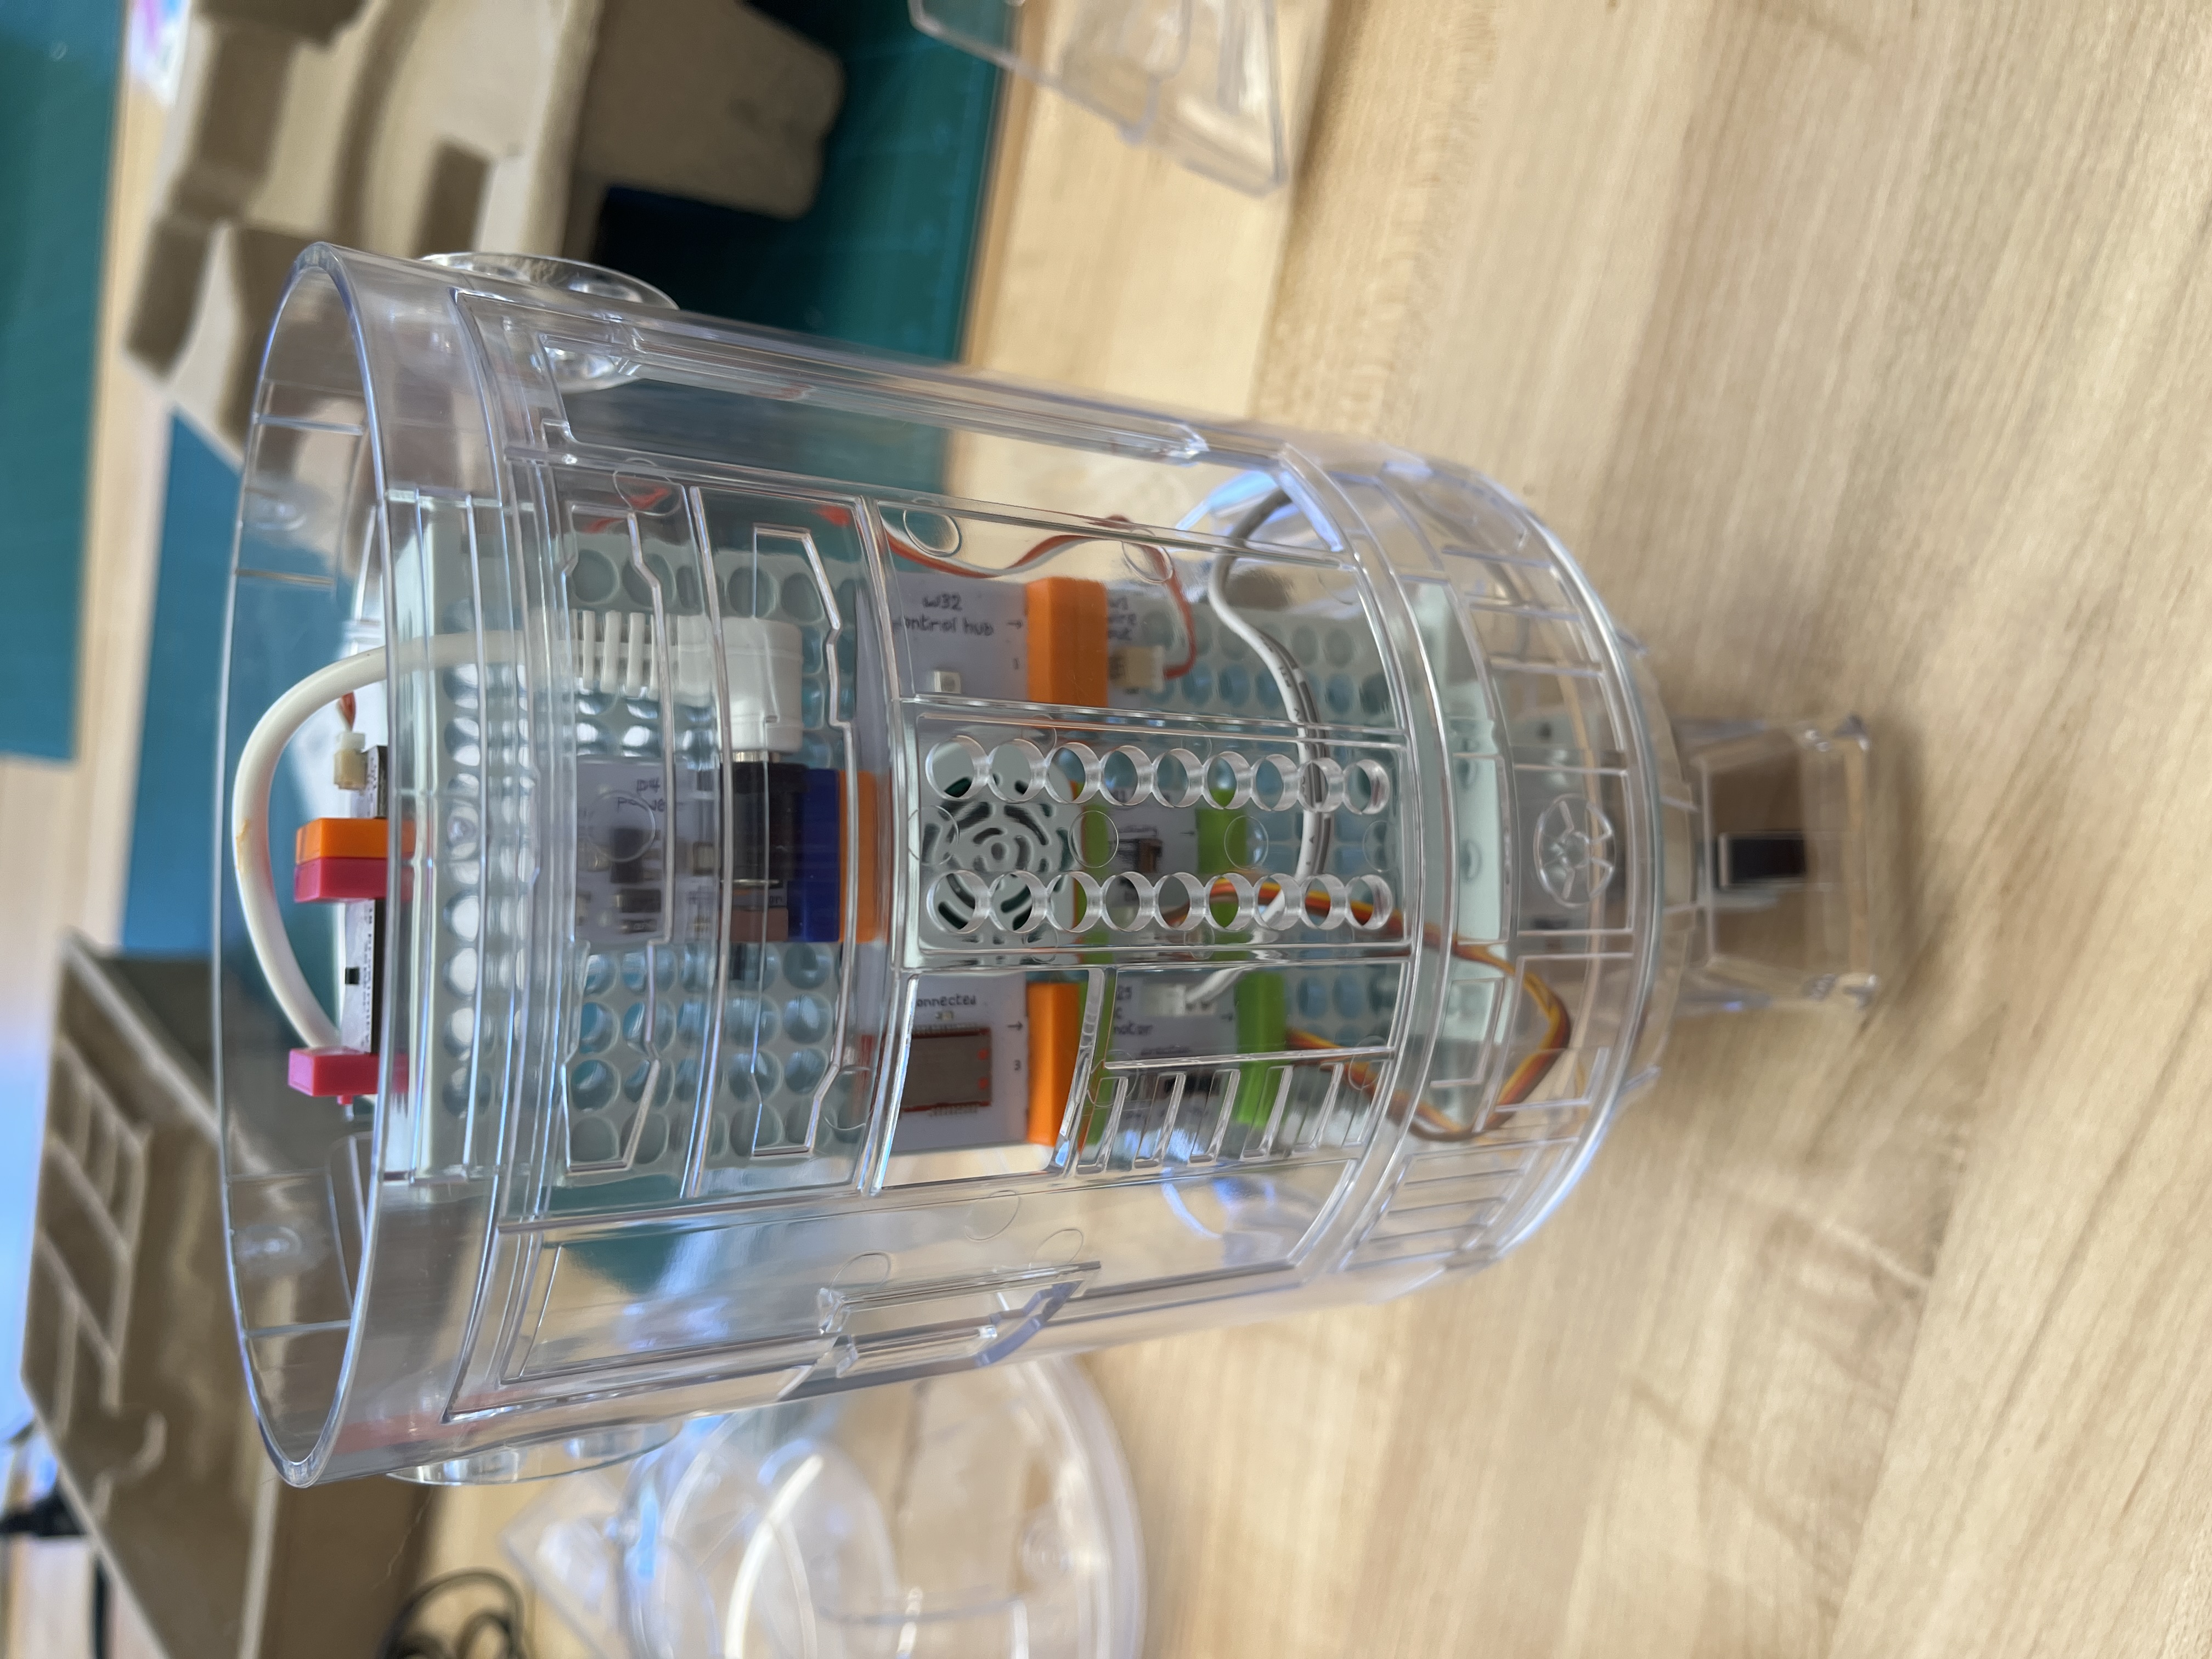
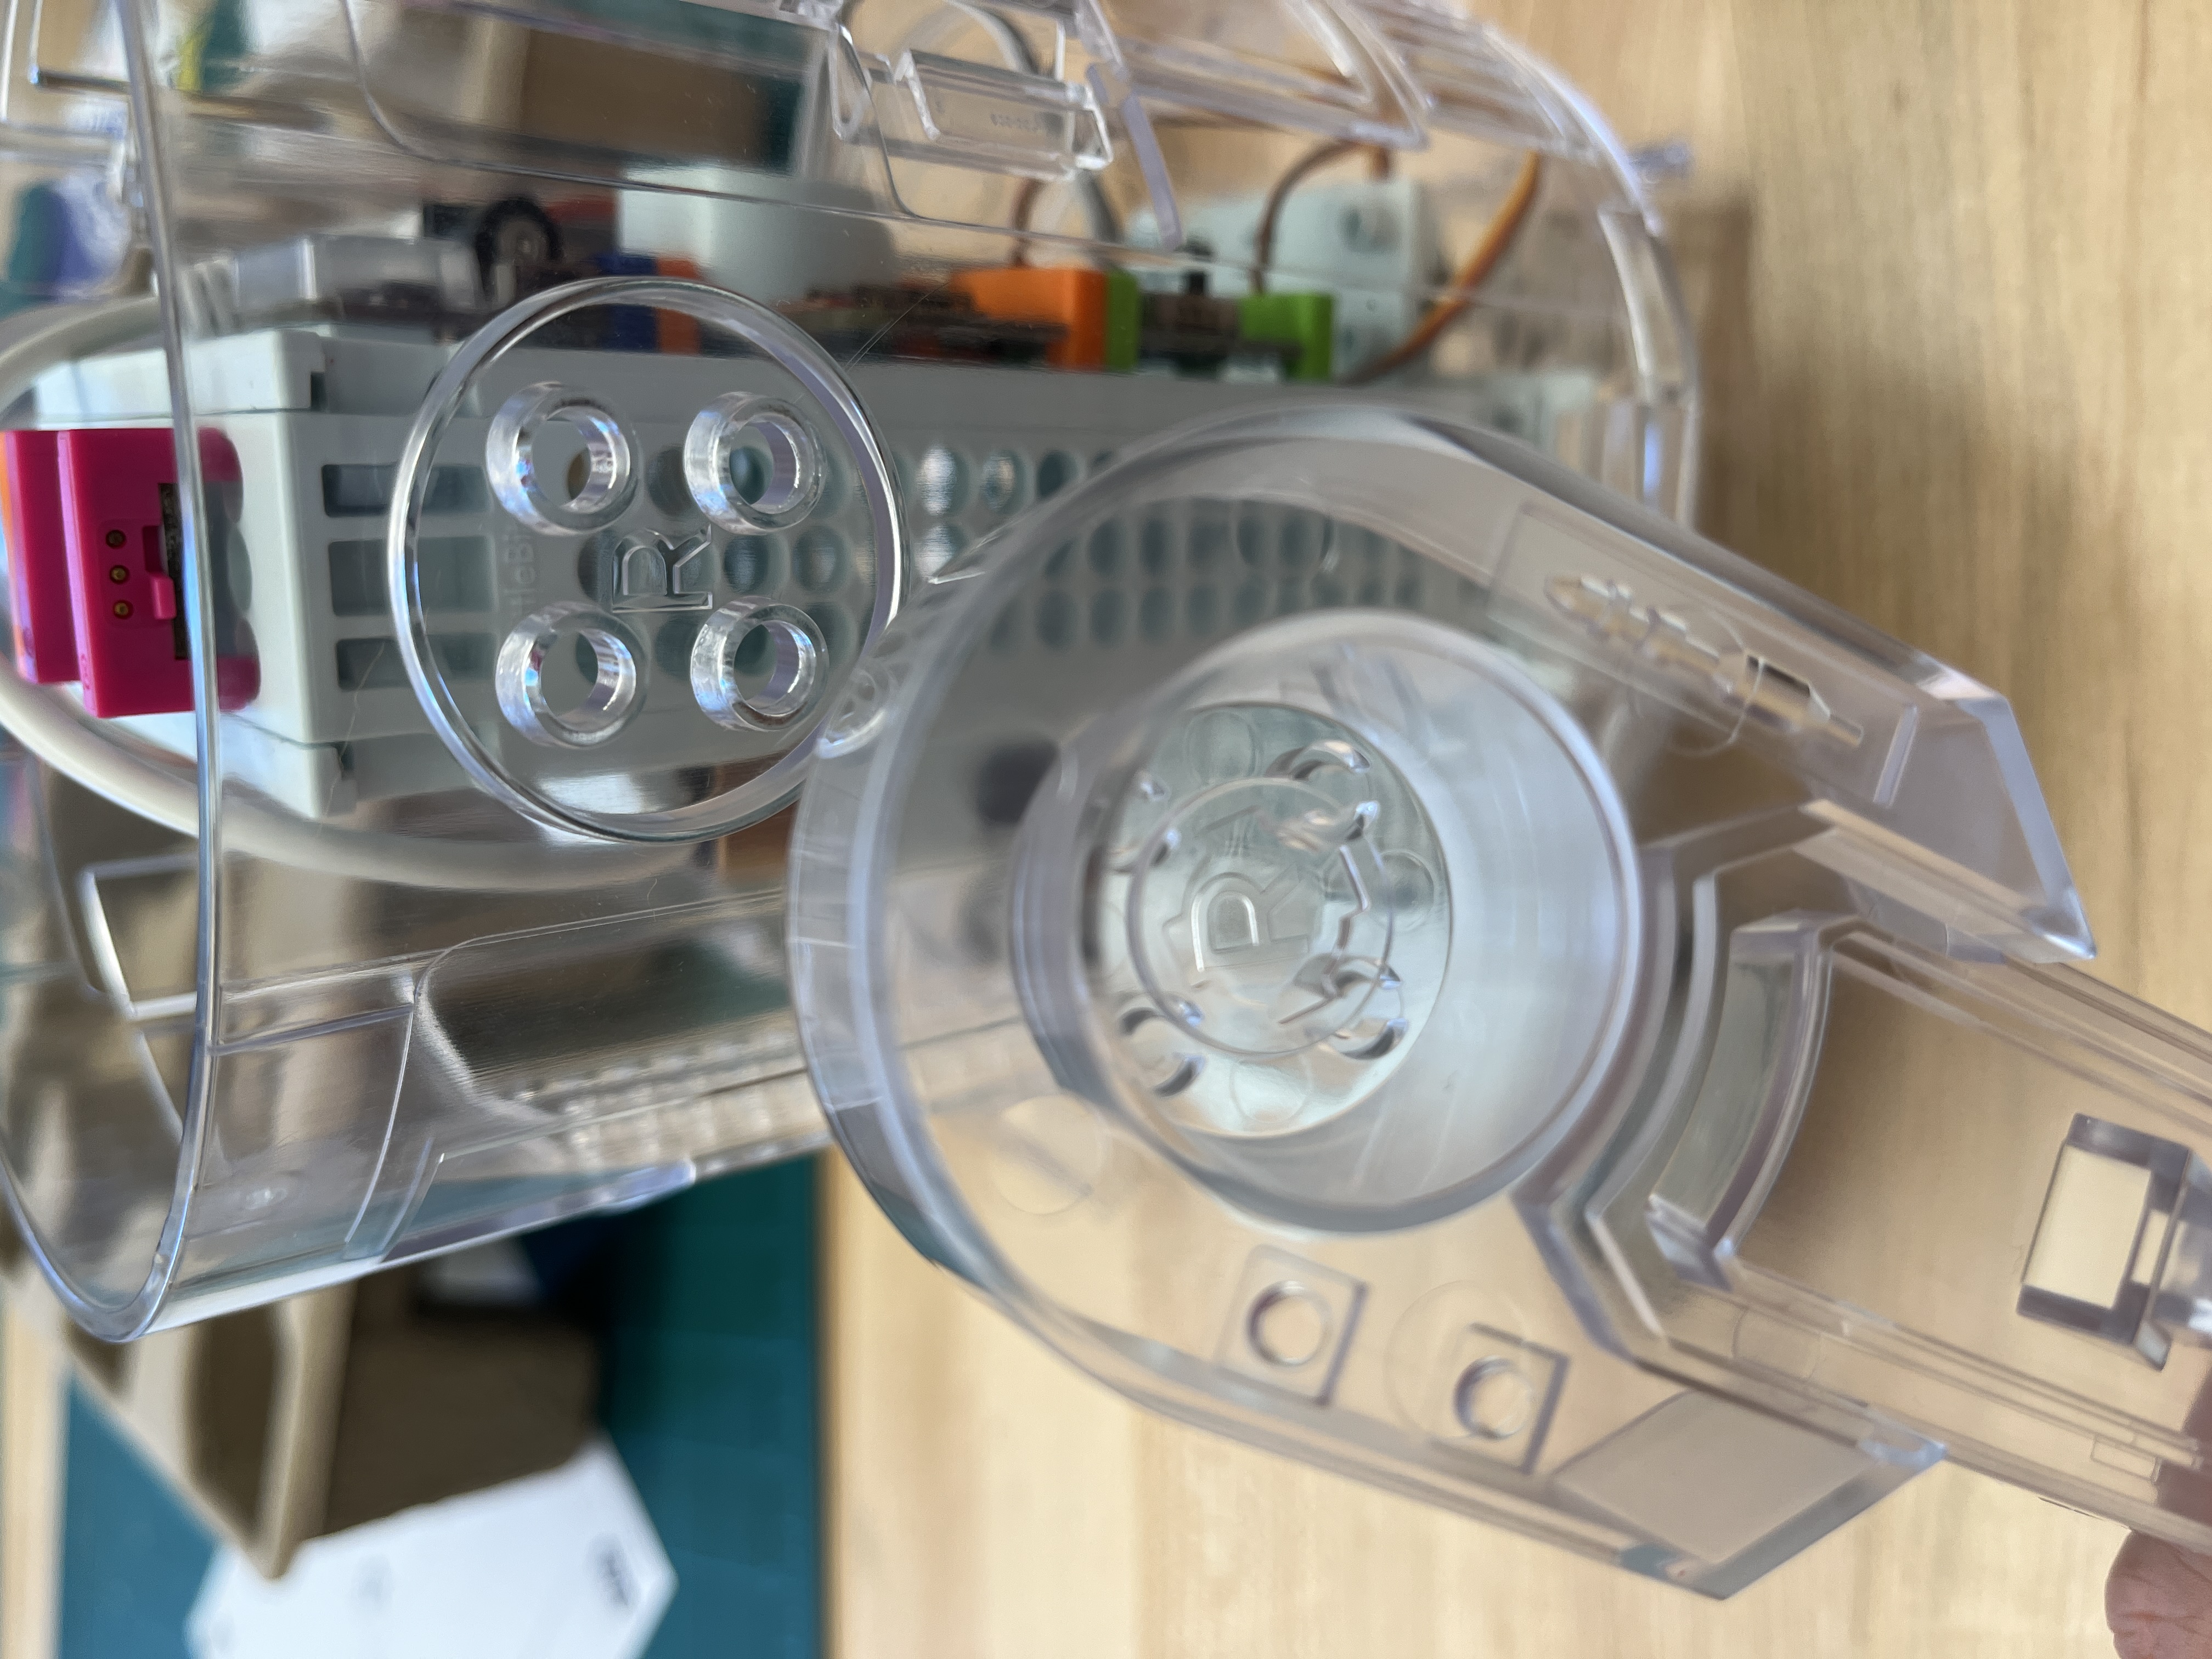
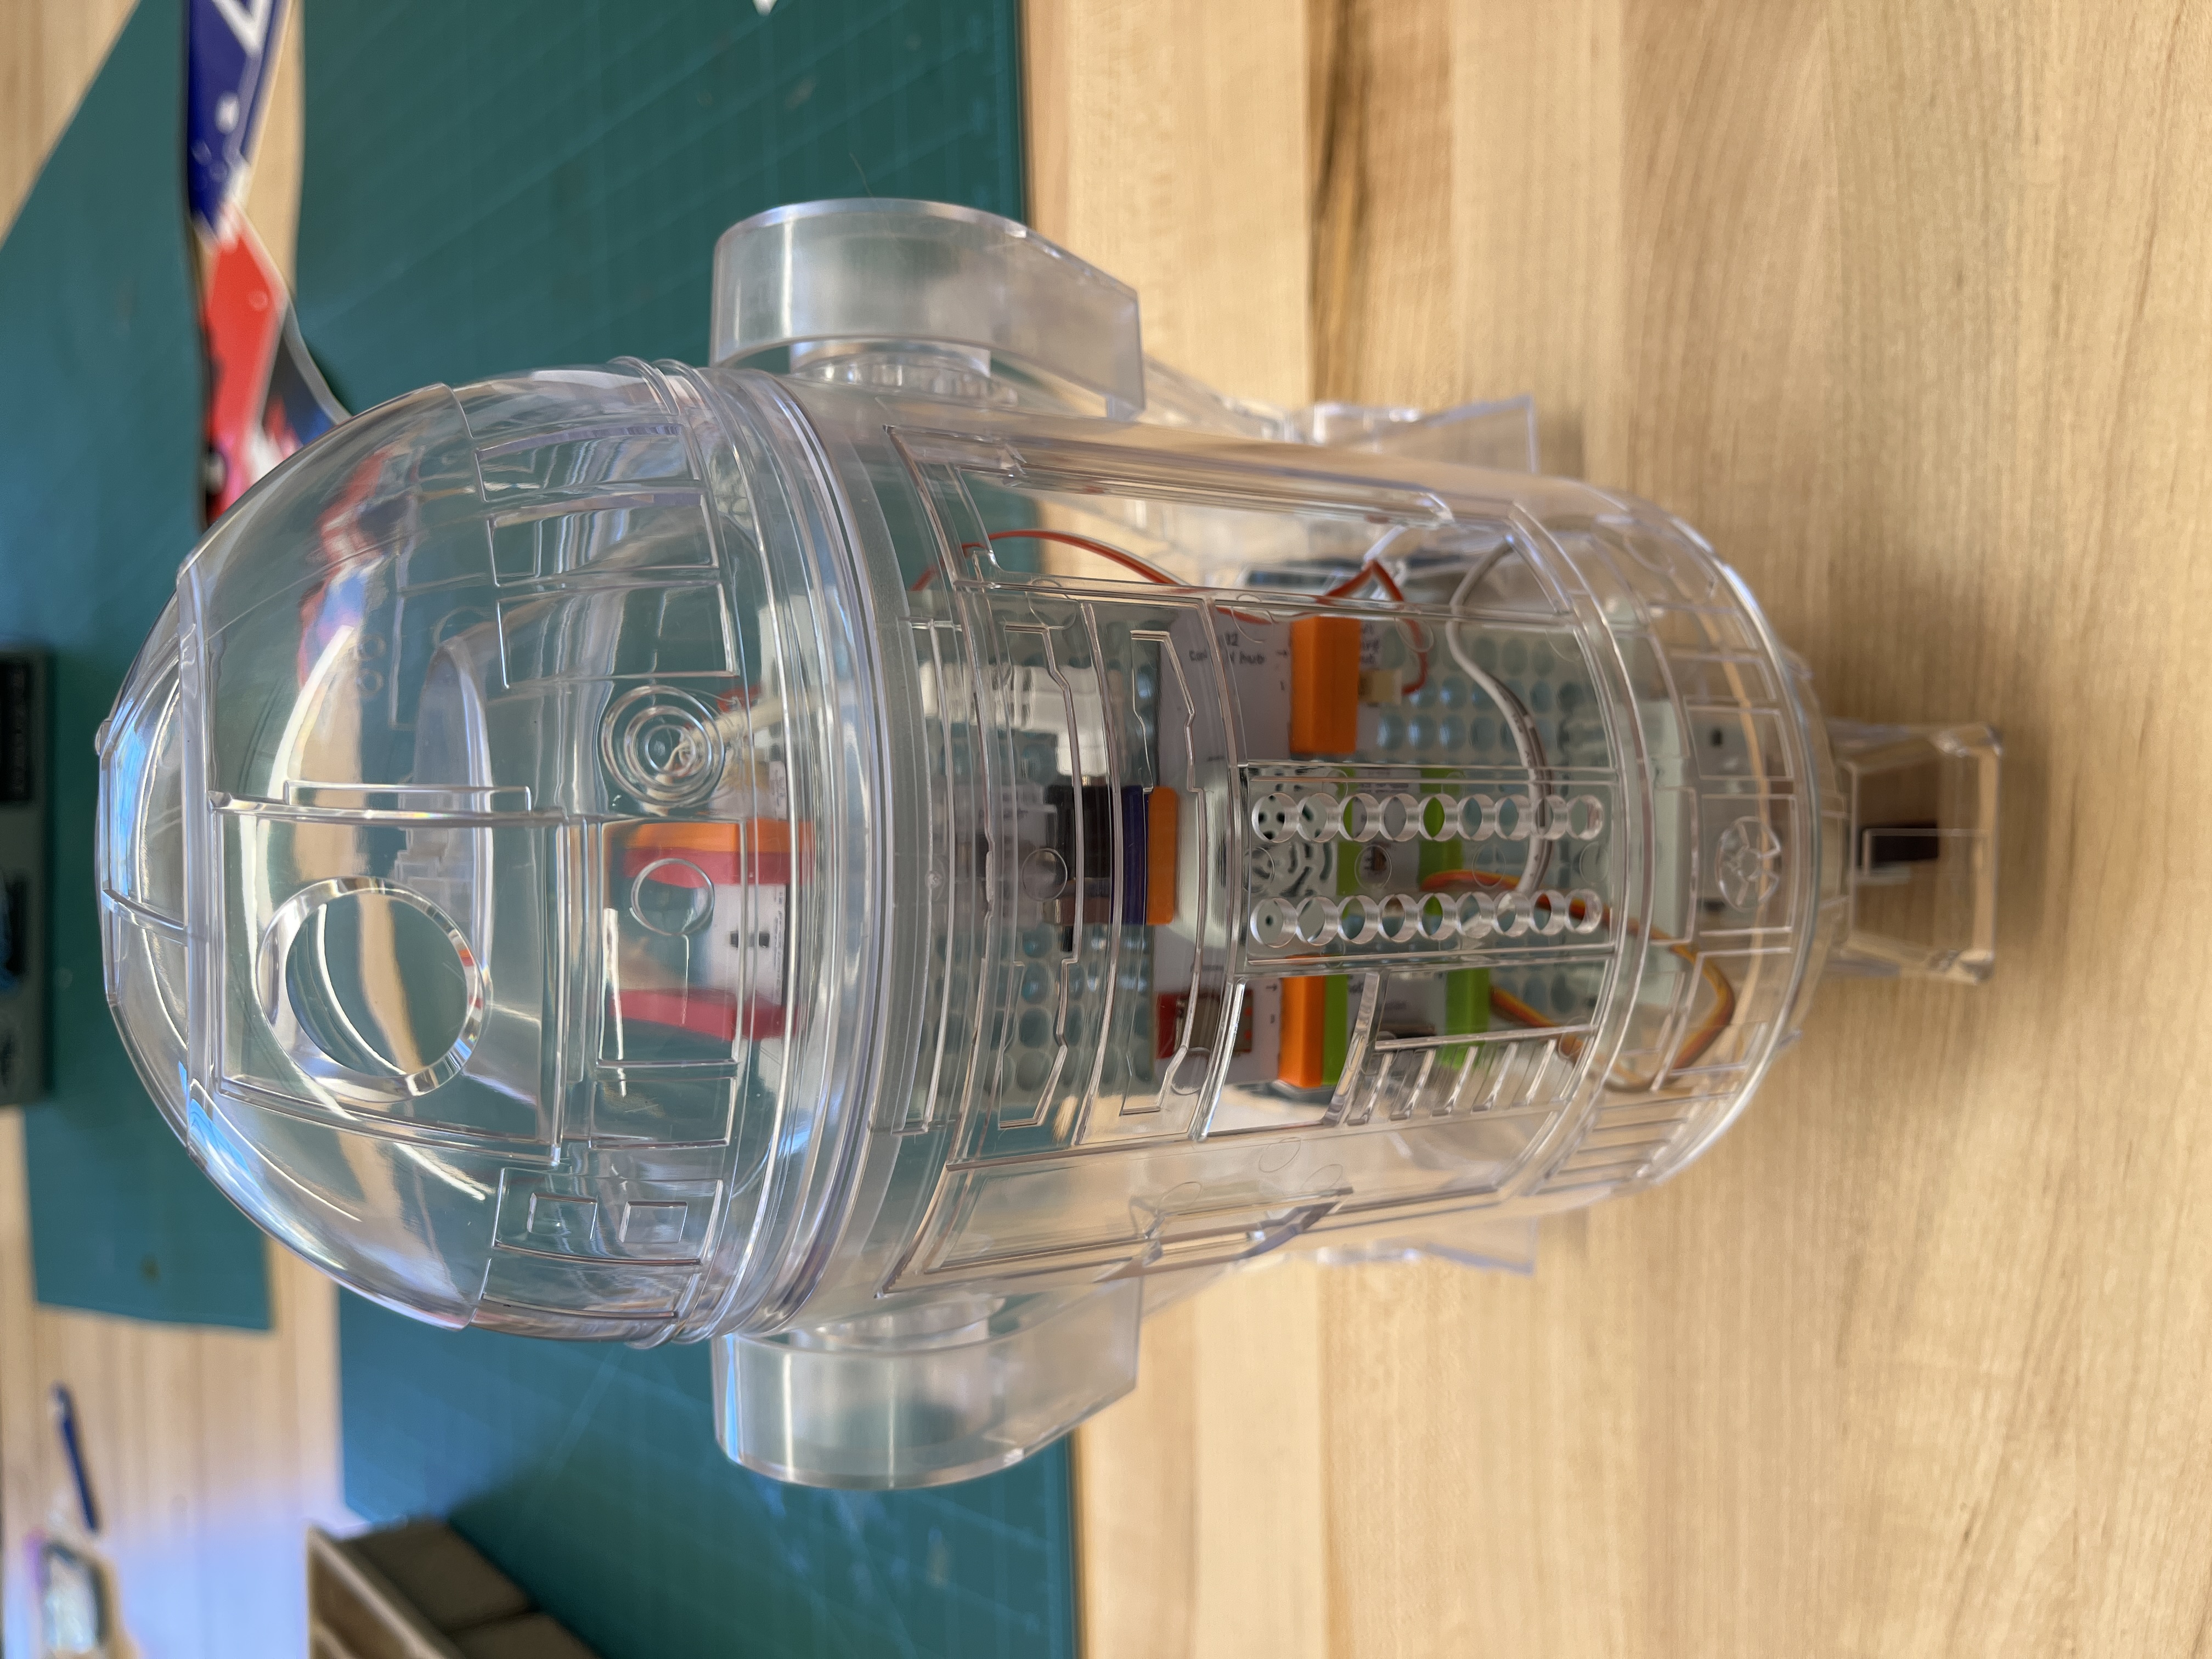
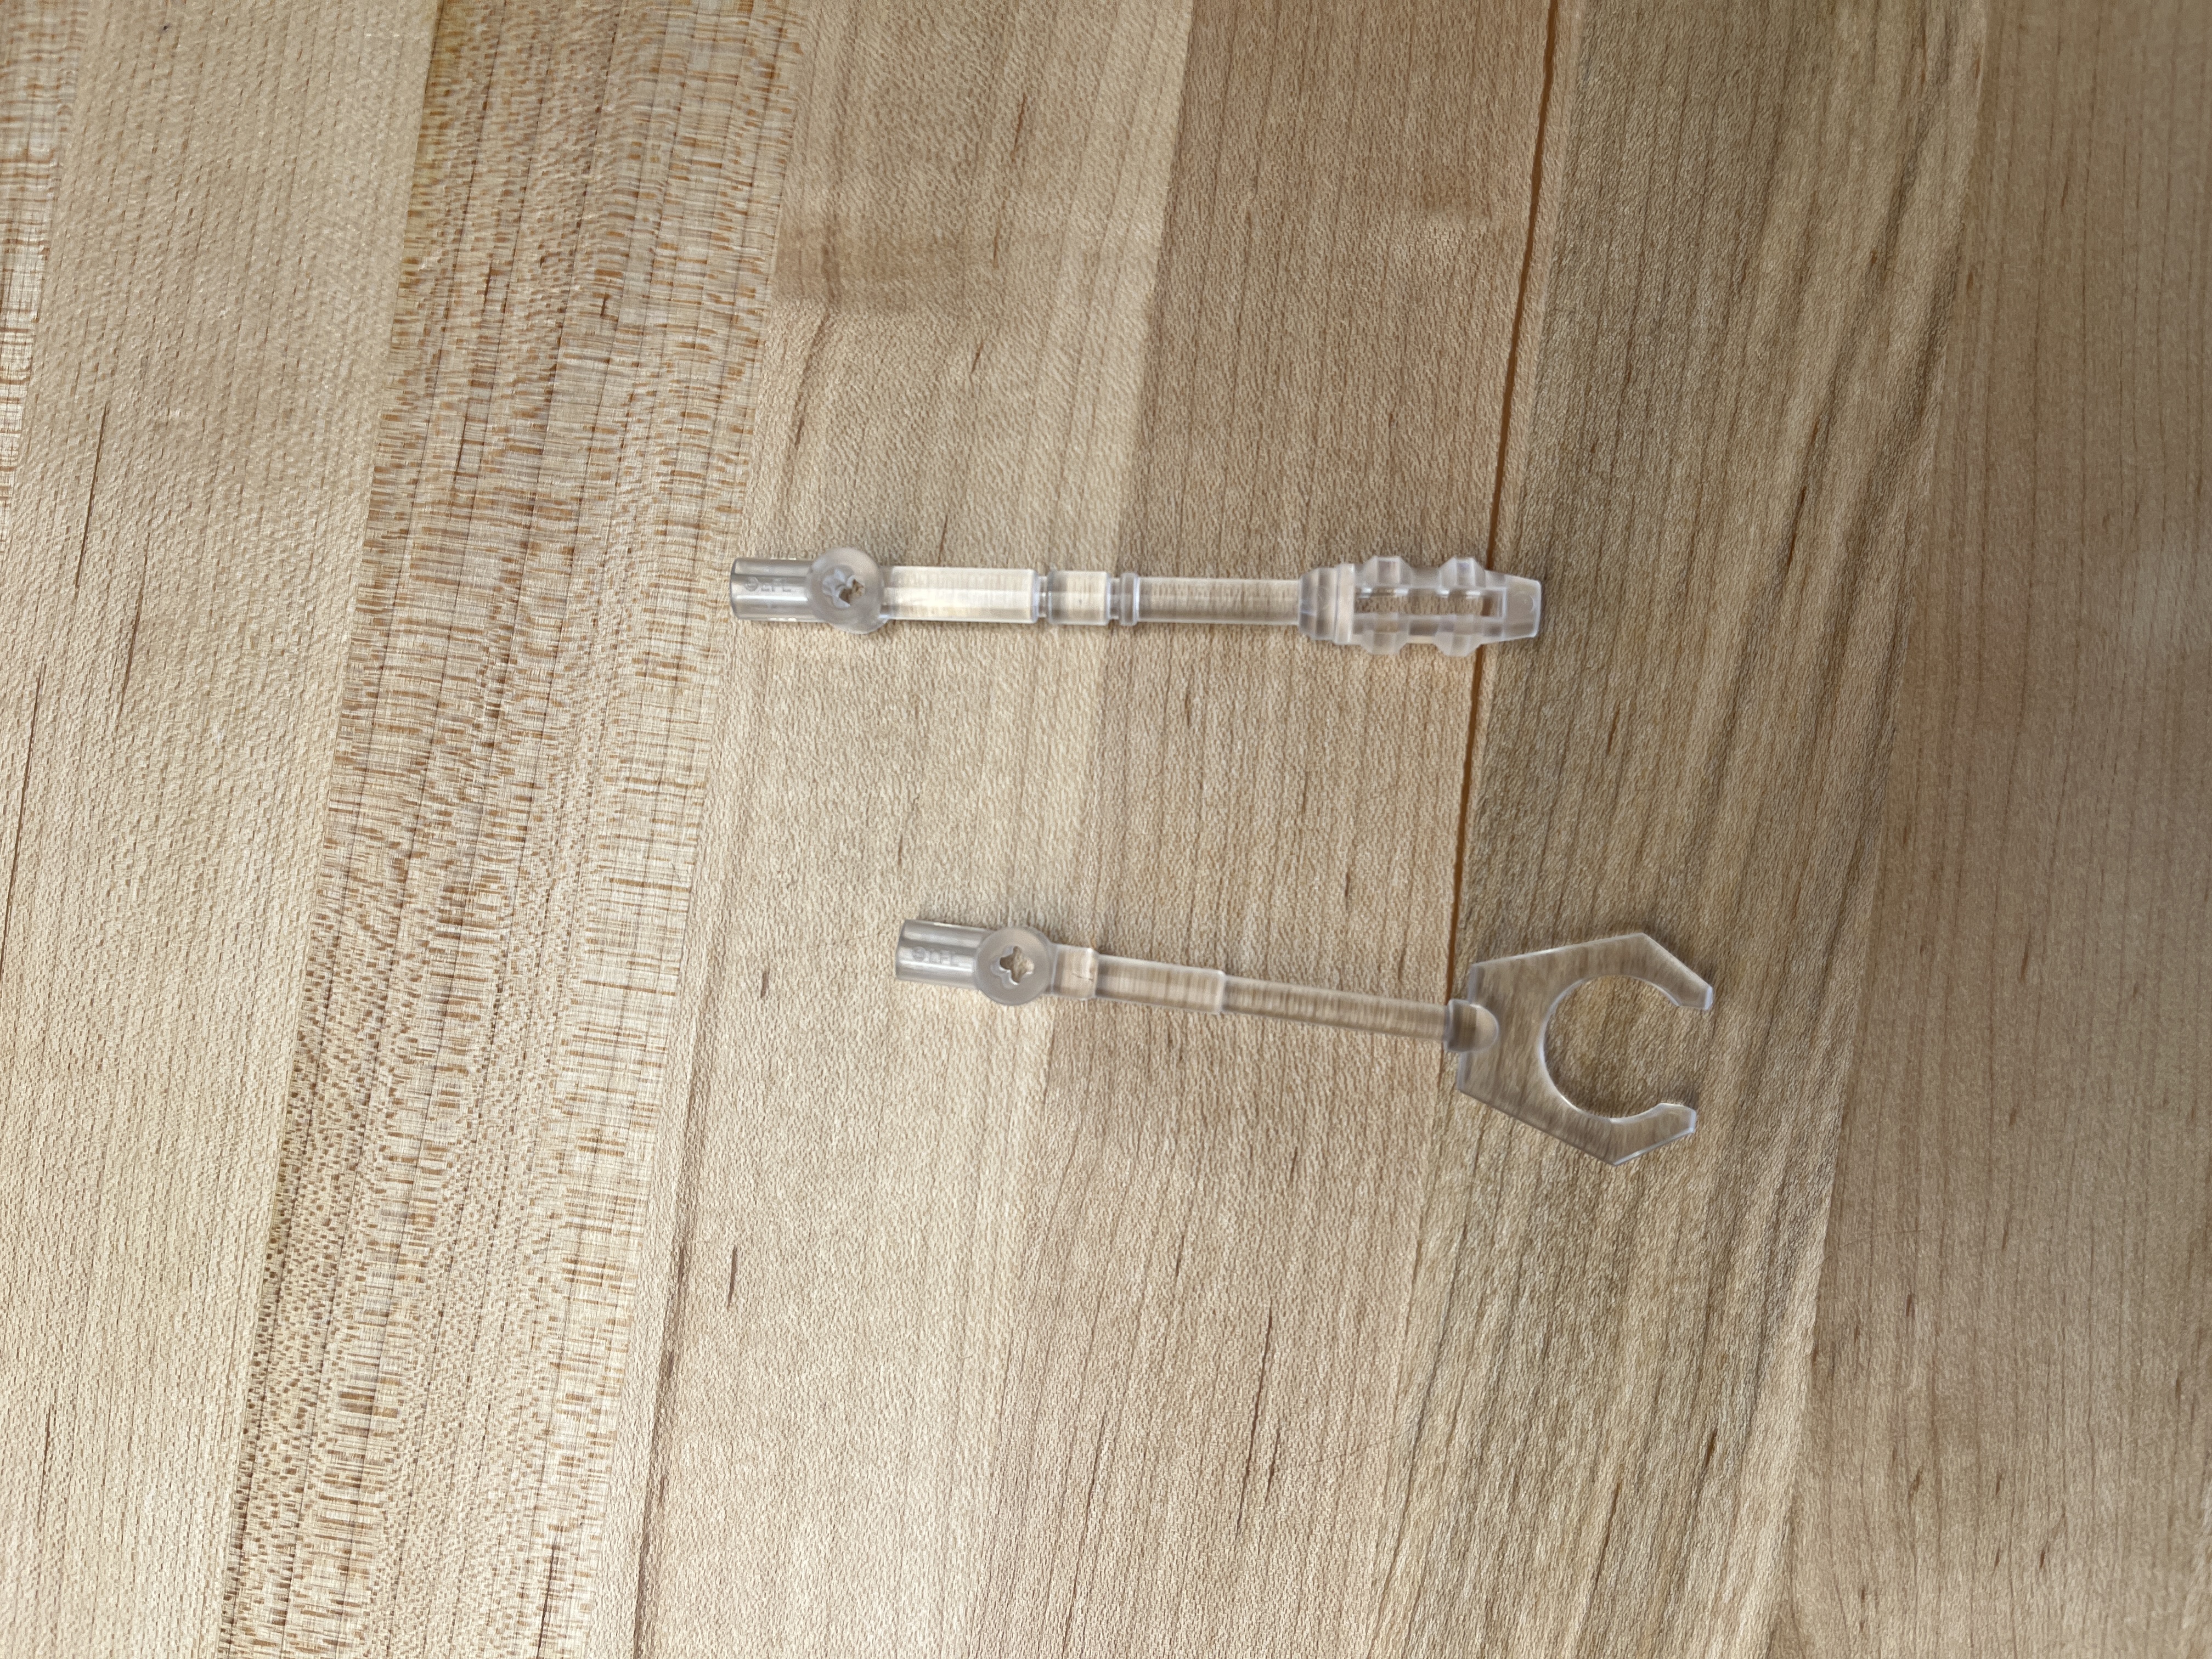
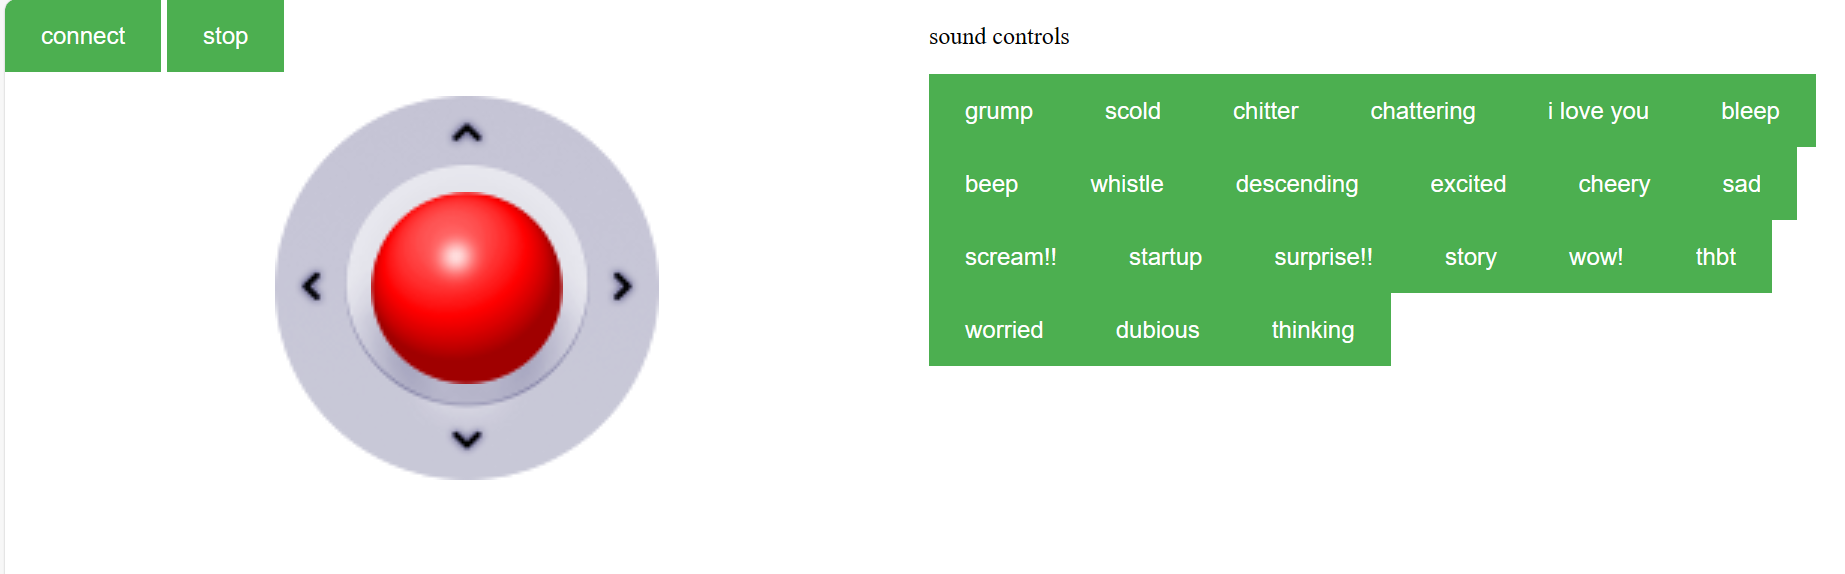
  • Thermal mini-receipt printer:
    • Complete reads/zines recommendation digital quiz and mini-receipt recommendation printout kiosk.
    • Possibly make a version where the paper spools out of the bread holes of a vintage toaster, to go with the Zine Bakery theme?
    • Thanks to Shane Lin for suggesting a followup: possibly create version that allows printing subset of zines (those allowing it, and with print and post-print settings that are congenial to some kind of push-button, zine-gets-printed setup.
  • Real-quilt zine quilt: Print a SLab-friendly subset of zine covers as a physical quilt (on posterboard; then on actual fabric, adding quilt backing and stitching between covers?)

  • More zine card decks: create a few more themed subsets of the collection, and print more card decks like my initial zine card deck
  •  

Mechanical Keyboards: Switch Basics

Mechanical keyboards are the most customizable kind of keyboard. Each component and modification to a mechanical keyboard can have drastic effects on the sound of each keystroke. The arguably most important part of mechanical keyboards and their sound quality is the switch. This blog will provide you with the basics on the components of a mechanical keyboard switch, with a focus on cherry style switches.

Top housing

This along with the bottom housing creates the enclosure for the switch. Thickness and material of the housing can affect the sound produced by the switch. You should try a variety of materials and housing combinations to figure out what you like best. The cutout in the bottom is for leds. RGB backlit keyboards have become very popular. The cutout allows light to shine through. The location of the cutout is important when checking compatibility with printed circuit boards (pcbs). The switch will be able to be used, but the location of the cutout and leds in the pcb can interfere with light shining through.

Spring

The spring is responsible for returning the switch to its resting position after a keypress. Different spring weights affect the typing experience. Light springs are more responsive allowing for faster keystrokes, but provide less feedback when pressed down on. Heavy springs provide more feedback and allow for more deliberate typing. However, heavier springs can expedite fatigue and reduce typing speed.

Stem

The stem is the central component that moves up and down when a key is pressed. It acts as a bridge between the keycap and the switch’s internals, transferring the force exerted by the user’s finger to the switch mechanism below. The stem determines the kind of switch, the main three being tactile, linear and clicky.

Tactile switches provide tactile feedback when typing, providing a bump or resistance at the actuation point to signal that the keypress has been registered. This bump does not affect sound or produce a click. This bump is visibly noticeable on the legs of tactical switches.

Linear switches have the same feeling through the entire keystroke. There is no tactile feedback until the switch bottoms out. The legs of the stem are smooth, unlike tactile switches.

Clicky switches have a more complicated stem to provide tactile and audio feedback when pressed. They feature a distinct bump in the keystroke, along with an audible “click” sound. The Cherry MX Blue is one of the most popular clicky switches. It possesses a click jacket style mechanism to produce its distinct clicky sound.

Bottom housing

The bottom housing completes the enclosure of the switch along with the top housing.

The leaf is located in the bottom housing. These are the thin metal strips within the switch that provide tactile feedback and help stabilize the stem during actuation. The legs of the stem brush up against the leaf to create the switch’s feel, contributing to characteristics such as clickiness and tactility.

There is no best key switch, it all depends on personal preference. Sound and feel can differ dramatically between switches. It is best to try as many switches as you can and see what you like best. Maybe even take parts of different switches to make your own frankenswitch. Your switch can improve your typing or gaming experience significantly, especially if you are doing it a lot. Who knows, it might even make writing papers for class enjoyable.

  •  

Setting Raspberry Pi’s Date and Time

You have finally connected your Raspberry Pi to the internet and are ready to start your project. You are then hit with an error telling you that you can’t access the web. It turns out that your Pi is set to a different year in a different timezone. This is how you manually change your date and time so that you can access the internet.

The first thing you want to do is open up your terminal. The command: man date, will give you all the information you need to work with anything relating to the date and time of a Raspberry Pi.

Don’t worry, you won’t be forced to read through all of that documentation.

The following code will allow you to set the time to whatever you desire, ideally the current time. Follow this format:

sudo date -s "WeekDay Month NumericDay hour:minute:second timezone year"

Do not forget to put quotations before the day of the week and after the year. The time also needs to be based off a 24 hour clock so that am and pm are accurate.

Wait a few seconds and the clock and calendar in the corner of your screen should update.

If your timezone is still wrong, follow the next steps. If your timezone is accurate, you are good to go.

Go back to the terminal and enter:

sudo raspi-config

This will bring you to the Raspberry Pi Software Configuration Tool. Select option 5 Localisation Options

Select option L2 Timezone.

This Pi is being setup for usage at the University of Virginia, so the timezone will be set to reflect that. If you live in a different timezone select your corresponding locations.

Select the America Geographic area.

Charlottesville is on the east coast so select New York as the Time Zone.

Hit finish.

Congrats!!! You have set up your Raspberry Pi to its accurate date and time. You should be able to freely access the web now.

  •  

Beep-boop: littleBits Droid Inventor

Have you ever wanted to build your own astromech droid? Now you can! This step-by-step guide on building the littleBits Star Wars Droid Inventor Kit will allow you to have your own screaming astromech droid. The box will say download the DroidInventor app for instructions to build your own droid, but this app no longer exists. With littleBits acquisition by Sphero, support for this kit no longer exists. This will provide a guide on how to build the droid and be able to drive it.

There are three main sections of the droid: the electronics, the chassis, and the frame. We will begin with the electronics.

Electronics

  • Connect the adapter to the 9 volt battery and plug the adapter into the port on the dark blue component labeled P4 Power

  • Attach the P4 Power module to the control hub, on the side with a singular adapter

  • There will be a longer connector with Wire In and Wire Out labels. The W1 Wire Out connector will plug into the top port (1) on the control hub and the W1 Wire Out connector will plug into the pink component labeled Proximity Sensor

  • Connect the component labeled 011 Servo to the middle connector (2) of the control hub and the component labeled 025 dc motor to the bottom connector (3) of the control hub. This setup will make mounting the electronics to the chassis easier.

Chassis

  • The box like section of the chassis has a rectangular opening, this slots into the other section of the chassis

  • The gear has a larger side and a smaller side that corresponds with the openings on the chassis. Secure the gear with the axle, then secure the wheels on the ends of the axle.

  • Attach the small wheel to the peg on the servo and connect the cover shown below to the top of the servo, this is how it will mount to the rest of the chassis.

  • Attach the battery holder to the battery, this is how the battery will mount to the chassis.

  • Attach the dc motor to the bottom of the chassis, make sure the gears on the motor mesh with the gears on the chassis, this will power the wheels. Attach the servo to the front of the chassis, there will be a section with four holes for the servo mount to attach to, this will allow the droid to turn.

  • Mount the battery to the back of the chassis and the rest of the electronics to the front, this will allow the lights to shine through the front like a real astromech droid. It also just looks cooler with the electronics visible in the front

Frame

  • Carefully attach the bottom of the frame to the bottom of the chassis. There is a locking mechanism that will secure it. Make sure to avoid clamping any cables when attaching the frame.

  • Slot the main section of the frame over the chassis, connect it to the bottom section of the frame

  • Attach the arms to the frame. They will be labeled with L and R. L goes into L and R goes into R. Make sure there is clearance between the bottom sections of the arms and the wheels, so the wheels can spin unimpeded.

  • Once you put the head on, you will have completed the astromech droid. You can put stickers on it now to give it more character. It comes with red, white and blue stickers. I ended up using straight blue because R2D2 is canonically blue.

Note: I have no idea where to put these parts, the box came with no mounting mechanism for them.

Driving

Now that it’s built, all that’s left is to drive it. Again, the app that was meant to control the astromech droid no longer exists. Luckily, I was able to find a program that deals with this issue, to an extent. Meetar on github has created an open source program to drive the droid. Once the files are downloaded, run the bluetoothtest.html file to see if your device can sync to the droid (I used my laptop). If successful, begin testing the different interface versions to see which one works best for you, personally I found interface6 to be the most reliable. Some of the other iterations would not let me drive backwards.

This will allow you to drive the droid around and have it make various sounds. However, it seems without the official app a lot of functionality is no longer available. I was unable to get the proximity sensor to work, so the ability of the droid to learn and navigate a room on its own has been lost with the app.

  •